home ➜ Original Xbox Game Console➜ Shooter ➜ Darkwatch ➜ The Deadlight Prism - Walkthrough
Darkwatch - The Deadlight Prism
The Deadlight Prism - Walkthrough
Darkwatch
The Deadlight Prism
While still in the citadel, be sure to stop by the weapon keeper to pick out a secondary weapon for your mission. We recommend the Carbine. As you enter the level, you will soon come to an interesting realization. The mission plays almost entirely in the light, a place Jericho is not quite comfortable. Unless you are standing in shadows, you will not have the benefits of your vampiric powers (that includes double jump and your shield).
you will also come across a new enemy type. These tomahawk chuckers are a bit more resilient than the typical Bone Demon, and they have got a projectile attack to watch out for. Keep your distance and side-step around these guys to avoid their attacks, focusing on head shots to quickly end their lives.
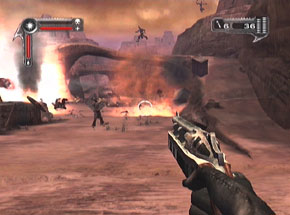
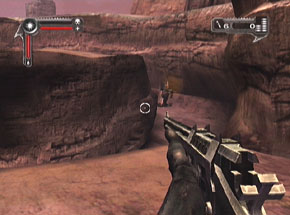
A couple of Banshees will appear with more chuckers behind them. Grab a Shotgun and take cover in the shadows to ensure you have got a shield built up, then quickly eliminate the enemies with face shots. A cutscene will trigger when all enemies are dead, but do not follow the Darkwatch just yet. If you turn around you should see an offering from Lazarus. This is also a good time to gather up ammo before continuing to the next area.
Grab a Range Rifle from the ground and take aim at the enemies ahead. Before long, a Mark of Evil will appear at the far end of the lower path. Use dynamite sticks and sniper shots to destroy the mark, letting you clear a path to the dark cave ahead.
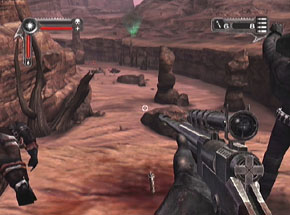
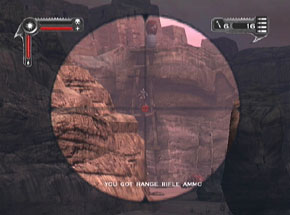

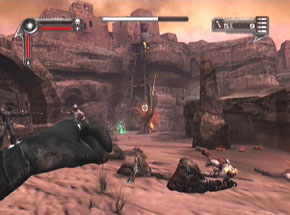
The cave path leads back outdoors to a pack of Banshees. Lure the Banshees into the cave with you (you will preserve your shield) and take 'em out. Leave the cave and follow the path uphill to encounter a small group of chuckers. Just around the corner, the path drops off sharply. Drop to the ground and quickly take cover in the small den to the left, where you will find enough shadow to restore your powers.

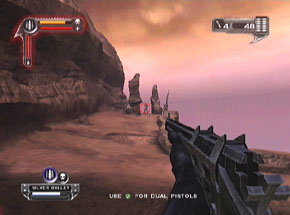
Watch your left (the direction of the fire) for the first set of enemies. If you have still got a Shotgun then you are in good shape to deal with these jokers ‘ use melee strikes and Shotgun blasts to take out the chuckers to your left until they stop coming. When the rush stops, quickly look to your right to see another set of chuckers jumping down from the ledge above. Make use of explosions (drop dynamite under the enemies as they jump) to thin out the horde before they reach you and focus on head slashes with your melee attacks.
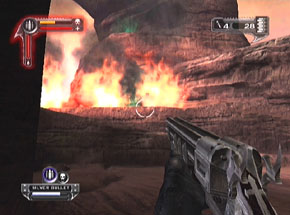
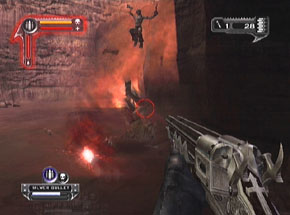
When all enemies are dead, the wall of fire will subside, letting you jump up to the main level and continue forward. you will run into more enemies before long, and there are luckily a couple of shady spots you can use to restore your powers. Stand your ground in the shade to lure the enemies toward you until you have finished them all off.
Just around the corner are more enemies to deal with before the path leads into a cave. There are three Banshees inside the cave, but do not let them chase you out. Stick to the darkness to deal with them and continue to the next area.
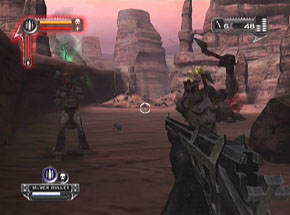

After making your blood judgement, take care of the nearby Chuckers before moving up the canyon. This canyon is a mixture of light and shade, and you will frequently be gaining and losing your vampiric powers as you move.
Move down the canyon and locate the first ledge to your right. Climb up to the ledge and you will find a shady spot, letting you use a double jump to reach the ledge above you. Using this technique of standing in the shade and jumping into the light, you can reach some high areas that will give you access to better fighting spots and offerings from Lazarus.
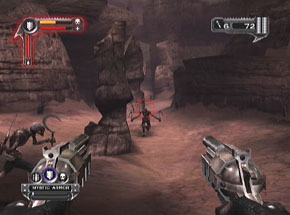

Watch for more enemies as you make your way through the canyon, keeping a careful eye out for the Keggers that appear. Just beyond the first set of Keggers is an offering from Lazarus on a ledge to the left. Using the dark-to-light jumping technique, you can reach the offering and continue forward.
there is a second offering just ahead (again, on the left side of the canyon). The canyon narrows and then opens back up to yet more enemies. Just past the opening of the canyon, look left and you should find a third offering from Lazarus that is on ground level.
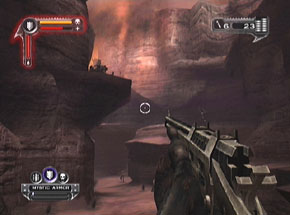

A cutscene will soon interrupt you again to show a Mark of Evil appear. Stay on ground level here to have a better view of the Keggers nearby. If you are atop a ledge, it is easy to lose track of an enemy and find them jumping up right in front of you. Unload on the Mark as quickly as possible while intercepting all Keggers you see. Before delving into the cave ahead, enter the small tunnel to the right to find an offering from Lazarus.

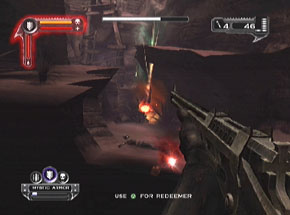


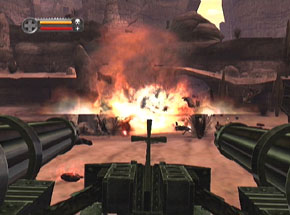
Step out to the ledge ahead and make use of the Range Rifle to take out the enemies below. Drop down to ground level and move around the corner to finally uncover the Deadlight Prism. Rush toward the prism, defeating all the nearby enemies before quickly manning the mounted turret that is within the Deadlight Prism's magical range.
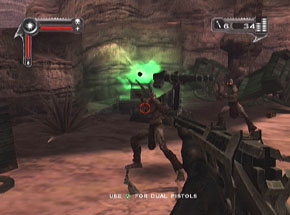

Use the turret to fend of the attack from enemies to your right, and keep track of the enemies that are spawning. Keggers will eventually show up, and it is of utmost importance that you take them out before they can get anywhere close to you. After a while, you will see a small explosion and a flurry of bats to the left as part of the mountain gives way to a cave. Stand your ground against this last onslaught of enemies (including Keggers) to secure the area.
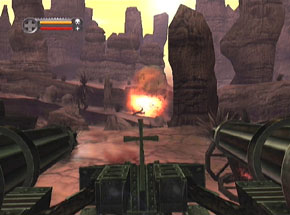
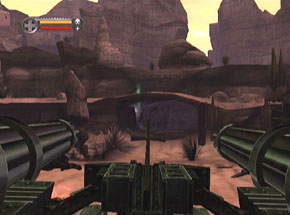

When the enemies are dead, examine the area to locate an offering from Lazarus (it is on the ledge that the turret is facing, to the left). Make use of it, then enter the cave to return to the citadel.

