home ➜ Original Xbox Game Console➜ Shooter ➜ Darkwatch ➜ Devil's Belly Mine - Walkthrough
Darkwatch - Devil's Belly Mine
Devil's Belly Mine - Walkthrough
Darkwatch

Devil's Belly Mine
The stage begins with another good-or-evil decision. As before, this does not affect anything other than your powers (it is a good idea to stick with either good or evil throughout the game until you have maxed out your powers).
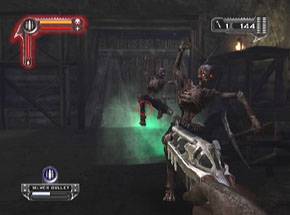
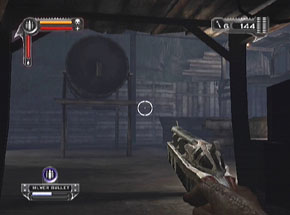
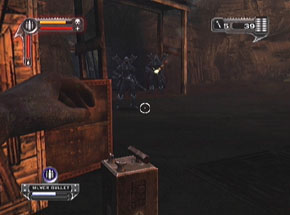
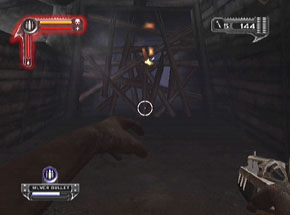
Stock up on nearby ammo and watch out for the Bone Demons that spawn in this small area. There is a plunger you need to depress that will blow up a wall and reveal the next part of the path. More enemies will appear, but it is nothing that you cannot handle.
Just around the next corner, a cutscene will briefly show you a human sacrifice left by Lazarus. defeat the enemies nearby before following the small path to the left and using the human to augment your powers (good or evil).


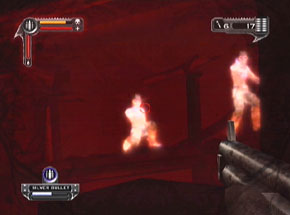
Return to the main path and fight your way to an opening in the mine where a Mark of Evil crops up below. Bone Demons and Gunslingers will infinitely spawn, so focus your efforts on the Mark. Try to retain your higher ground and lob dynamite down at the Mark, followed up with Carbine shots. The Mark should explode soon, taking with it the lives of the nearby enemies.
Jump over the gap in the busted bridge to reach the path on the other side and follow it to a deep hole in the ground. defeat the one Bone Demon that crawls out of the hole before dropping down to the next part of the mine.
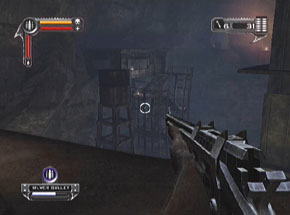
This lower path leads to an opening with an upper platform that is crawling with Gunslingers. Keep to your cave for a bit to lure out the Bone Demons. Deal with these guys first before taking on the Gunslingers on the platform. When the area is clear, locate the plunger on the upper platform and use it to blow up a wooden barrier below. Another bunch of enemies will pour into the area below, and your best bet is to stay in your cave to lure the Bone Demons toward you. Finish off the Gunslingers, then drop down below.
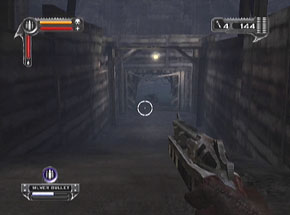
Before you run down the now-clear path, use a stick of dynamite to blow away the boarded up mine shaft. there is another sacrifice from Lazarus you can use to augment your powers. Turn down the path behind you and you will come across a pair of feeding Bone Demons and a Shotgun. Further down the path, duck into the small hole in the wall to follow the tunnel up to a hole in the ground. Drop down to reach another portion of the mine.

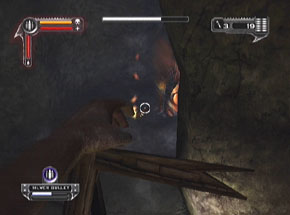
A new enemy type is ready to greet you at the bottom of the hole. Keggers will rush toward you with explosive barrels, punishing you hard if you fail to engage them from afar. Target their barrels with the Redeemer and pick 'em off from the safety of the tunnel.


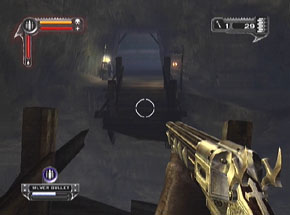
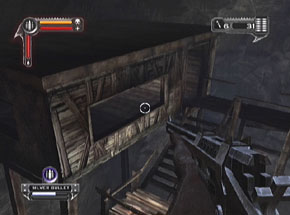
When the flow of enemies ceases, step out into the cavern and find the ramp on the left that leads to a ledge. From here, jump across the cavern to a second ledge on the other side. A gunslinger will spawn on the next ledge above you, so quickly take him out and jump up to the his level. there is another offering from Lazarus at the far end of the nearby tunnel—just blast through a couple of enemies to reach it. Jump over the broken bridge and depress the plunger to blow up the rickety wall and continue to the next area.

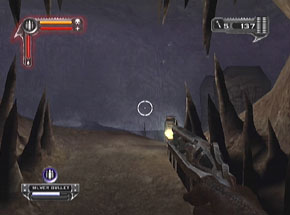
A brief cutscene shows the location of three plungers in a cavern up ahead. Watch for two Bone Demons to blast through the wall to the left before investigating the small cave behind the explosion and finding some dynamite. Follow the main mine path forward, and be sure to stock up on Carbine ammo.
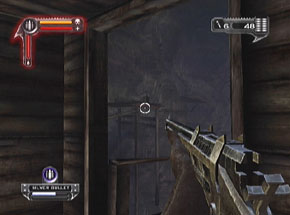
The path soon opens up to the large cavern with the three plungers. Before you jump into the main area, pick off any and all Riflemen you can see in order to thin out the enemies. The first plunger to find is in the shoddy structure to your left. Jump the chasm over to the building and find the plunger inside.
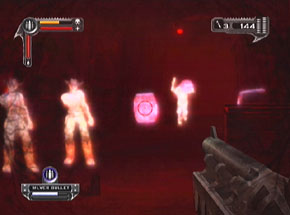
More enemies will appear in the cavern, including Banshees floating about. For now, step out the doorway of the building and look left to find an upper ledge with the second plunger. Vampire jump over to the plunger and press it—two down, one to go. Stay in your roost for a bit and pick off any enemies you can spot. When the coast is clear, step to the edge and look left below you. You should see the third plunger at ground level. Drop down, depress the plunger, and then take cover in the building nearby.
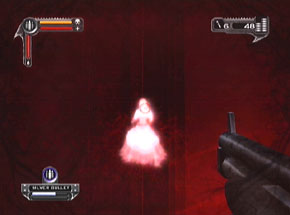
The cavern is still populated by a number of enemies, including new ones that have just spawned. The enemies will continue to respawn until you leave the area, but you should locate the offering from Lazarus (it is on the ground level) before following the path to exit the cavern.

Fight off the nearby enemies in the next tunnel, including some Gunslingers backed by a single Kegger. In the short tunnel to the left of the Gunslingers, you will find an offering from Lazarus. Make use of it, then head further down the mine to take out more Gunslingers.
The road soon turns left, opening to an area with a ton of dynamite. Stock up before heading forward and defeating off a few Bone Demons. you will need some dynamite to blow up the boards that are blocking access to the next hall. After the boards are destroyed, watch out for a quick rush of Keggers from up ahead.
Just ahead, the tunnel opens to a larger cavern at the bottom of which are many enemies. Just peek your head out into the cavern to get their attention, then retreat into the tunnel to lure the Bone Demons toward you. when the flow of Bone Demons subsides, peek back out with your Carbine and pick off the remaining Gunslingers.
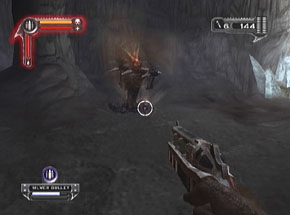
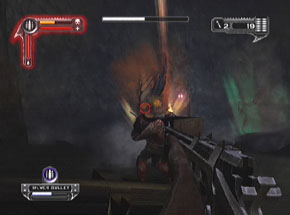
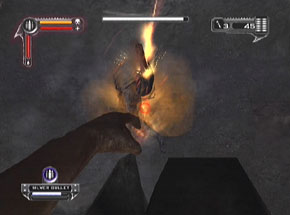
When the cavern is clear, drop down to the floor and locate Lazarus' offering hidden to the left. Drop through the holes in the ground and follow the next tunnel forward until a cutscene shows the raising of a Mark of Evil. defeat off any nearby enemies, but do not make the enemies your priority. You need to destroy the Mark, lobbing dynamite at it and firing shots from your Carbine. The Mark will take out all enemies around you (including the Oozer), so the quicker you blow it up the quicker you can continue.

Jump across to the next tunnel. Further down are a few Bone Demons, and past them is the level's end.