home ➜ Apple Macintosh ➜ The Dig
The Dig - sci-fi themed adventure
By LucasArts Entertainment Company LLC
Discontinued, Out-of-Date, and End-of-Line
The Dig is no longer available to be played, unless you have an older Mac that will play it. This list is for historical and archival purposes.
We no longer play games on the Mac since we did not buy a Mac to play games but to be productive with Music Production and Recording, Film Production and Editing, and Website Design and Magement.
The Dig

- Designers: LucasArts Entertainment Company LLC
- Publisher: LucasArts Entertainment Company LLC
- Game Rating: E (Everyone)
- Release Date:June 20, 1997
- Players: 1
- Gameplay: Point-and-Click
- Minimum CPU Class Required: Motorola 68040
- Minimum OS Class Required: System 7.1
- Minimum RAM Required: 8 MB
- Media Type: CD-ROM
- Minimum CD-ROM Drive Speed Required: 2X (300 KB/s)
- Input Devices Supported: Keyboard and Mouse
Summary
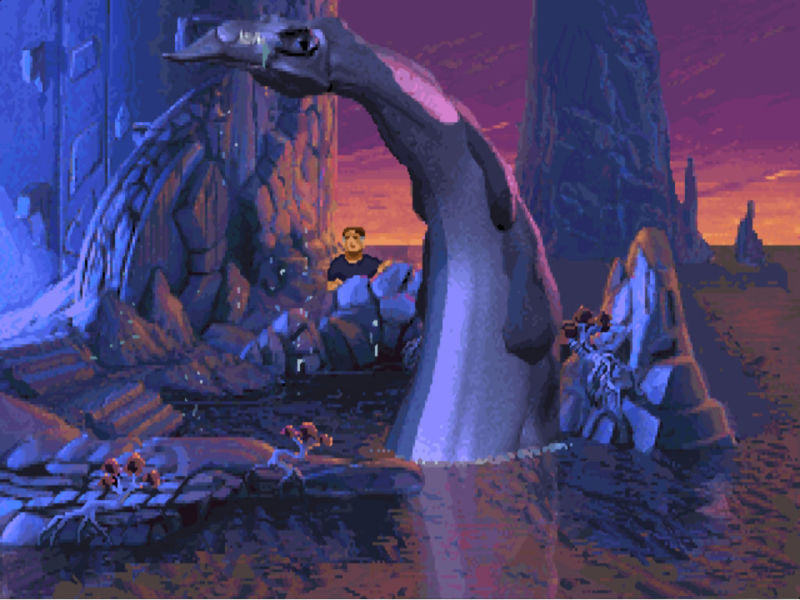
The Dig is a sci-fi themed adventure game. You take the role of the leader of a team of five astronauts sent into orbit above Earth to blast an asteroid on a collision course with the planet. All is not as it seems however and you along with 2 other astronauts are transported to another world, this is where the main plot of the game takes place.
The gameplay is typical of a point and click game, there is an absence of interaction with other people however, most of the game is spent searching alone which can get a bit tedious. Saying that the game is quite long and took me a while to complete the first time round even with help! Some of the puzzles are particularly difficult and can involve lots of travelling back and forth collecting things which can be tedious or extend the gameplay depending how you see it.
The graphics are good for a game of it is age, it includes some high detail video sequences which when accompanied with the perfectly orchestrated background show off the quality of the game.
The game is re-playable given the difficulty of the puzzles but upon completion you might want to leave it a year or two until you forget how to complete everything. As I said it is quite a long game anyway so upon completion your unlikely to want to go and replay it immediately, there is a hidden second ending but I am yet to see it and by the sounds of it it is not hugely different.
A group of scientists discovers an asteroid that is on its way to a collision with the Earth. Is there any way to prevent the disaster? Boston Low, a NASA veteran, is sent to command a space expedition on the asteroid. Accompanied by the journalist Maggie Robbins and the archaeologist Brink, Boston investigates the asteroid and finds a strange structure that undoubtedly belongs to an alien civilization. During the course of investigations, the team finds itself on a seemingly deserted planet. They have no knowledge of the planet and no possibility of going back. Will they ever discover the secret of this strange world and find a way to get home?
Gameplay
The Dig is a point-and-click adventure game, where the player, as Commander Boston Low, uses the mouse cursor to point to people, objects, and other parts of the environment to look at or interact with them, collect and use items in their inventory, and talk to non-player characters. The game runs on the SCUMM game engine, and was the eleventh LucasArts game to do so. A minigame can be found on the communicator menu, consisting of "Asteroid Lander", a Lunar Lander like game. During development, there were plans to include role-playing game elements, but these were scrapped before the game's release
Plot
A radio telescope detects the approach of a large asteroid on a collision course with Earth; authorities dub it "Attila" after the ancient conqueror Attila the Hun. Scientists determine explosives planted on the surface of the asteroid may divert it into a stable orbit around Earth. A five-person expedition uses the Space Shuttle Atlantis to rendezvous with the asteroid and plant the charges. The crew is led by Commander Boston Low (voiced by Robert Patrick), and joined by Dr. Ludger Brink (Steven Blum), a German archaeologist and geologist, Maggie Robbins (Mari Weiss), a linguistics expert and reporter, pilot Ken Borden (David Lodge) and NASA technician Cora Miles (Leilani Jones), who is also running for Congress.
Low, Brink, and Robbins spacewalk to the asteroid and set the charges. While they are successful in altering the orbit of Attila, they find the inside of the asteroid appears hollow, and proceed to explore. When they enter a central chamber, they are trapped as the asteroid transforms into a dodecahedron pod and rapidly accelerates away into deep space. When the three recover and can exit the pod, they find themselves on an alien planet, on a central island surrounded by five smaller, spire-shaped islands; in the game's novelization, they name the planet Cocytus. It shows signs of former intelligent life, but as they explore, they find no evidence of any sentient creatures that remain, and the one advanced complex they are in shows signs of long-term deterioration. They encounter a strange form of spirit-like energy that guides them to a particular patch of ground, which they find to be soft and consistent with an opening that has been buried by time. Shortly after Brink begins digging, the ground gives way beneath him, opening a cavern into a subterranean structure. Robbins and Low find Brink dead at the bottom of the rubble.
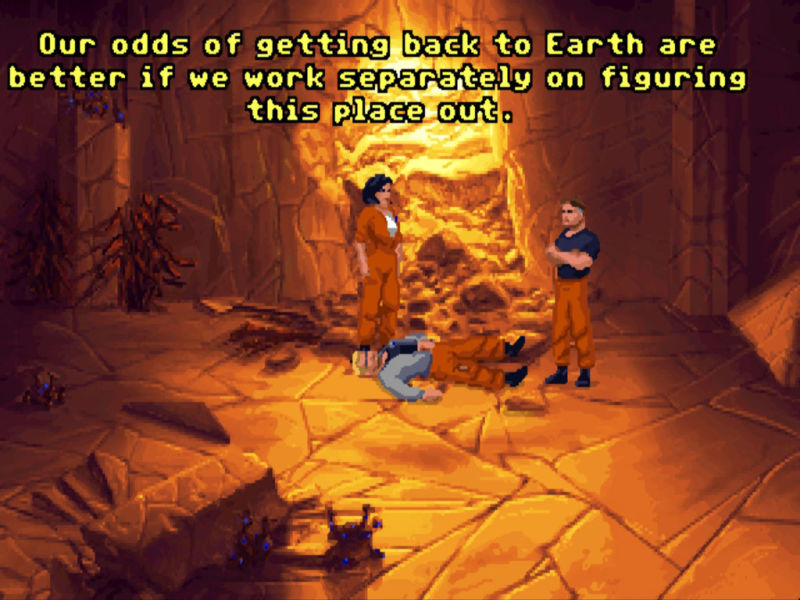
Robbins insists they explore the structure separately and the two part ways, keeping in contact with their communicators. In what appears to be a museum, Low discovers a pair of crystals containing a glowing green liquid. After seeing a demonstration in the museum of similar crystals being used in what looks like a resurrection ceremony, Low tries one on Brink, bringing him back to life. They search for a means to return to Earth, using Brink's and Robbins' talents for xenoarchaeology to decipher alien text and images.
As the trio continue to explore, they find Brink has become addicted to the crystals and started hoarding them for himself, leading to conflict within the group. Low discovers a pyramid that houses a preserved alien, whom he is able to reanimate by use of the life crystals. Through Robbins, the alien explains that his species had become obsessed with eternal life and had decided to travel to a new universe, Spacetime Six, from the current one, which they call Spacetime Four. The alien chose to remain behind to warn others about the crystals and the dangers of transcending to Spacetime Six. However, the rest of the species have been unable to find a way to return to Spacetime Four, and only they would be able to provide the humans with a spacecraft to return to Earth.
Low offers to travel to Spacetime Six to show the aliens how to return, but this requires them to repower the portal that was used. They are able to retrieve two life crystals from a machine that generates them, but Low and Brink fight over the crystals, and Brink falls to his death. During the process of opening the portal, Robbins is killed. The player has the option of reviving Robbins with a life crystal after the portal is opened; however, if they do, she immediately jumps to her death, with no crystals left to revive her a second time. With no other options, Low uses the portal to meet the rest of the aliens in Spacetime Six; with the portal open, the aliens can perceive the route home and return to Cocytus. They restore Brink and Robbins to life and cure Brink of his addiction to the crystals, though this leaves him as an elderly man. If Low left Robbins dead, she is happy to see him, but if Low revived her, she is angry and scorns him. As promised, the aliens reconstruct a spacecraft for the humans, and representatives of the species join the humans as they return to Earth.
Items
Arming Key
Available at the start of the game. It is used to arm the explosive units alpha and beta after they have been set on the asteroid.
Blue Crystal
Found in the empty slot after removing the panel in the room that is found by walking down the ramp from the nexus. It is used with the hole in the tomb.
Blue Rod
Found in the hole in the crevice area at the planetarium spire. It is used with the hole in the glowing panel of the command center of the nexus.
Bracelet
Found by using the device in the dirt ramp area on the planet surface. It is used with the critter after it has been trapped at the planetarium spire.
Cover
Found at the plateau at the planetarium spire. It is used with the panel at the left side of the door after the machine part has been replaced.
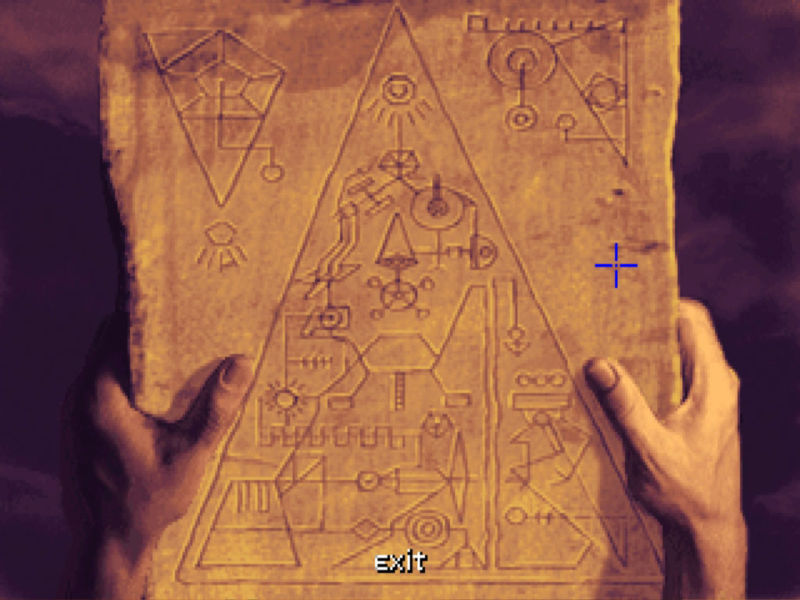
Creator's Engraving
Found by asking the alien in the tunnel under the tomb about the eye part twice. It is looked at to reveal five geometric shapes which can be entered on the panel at the map spire.
Device
Found in the chest in the wreck on the planet surface. It is used at the dirt mound on the planet surface to reveal something below the small mound, and is also used to find the critter that has the bracelet attached to it.
Dowel
Found at the plateau at the planetarium spire. It is used with the hole in the middle of the circular structure at the plateau to make a pin.
Engraved Rod
Found after pulling the hanging wire in the wreck on the planet surface. It is used with the slot in the door near the guard dogs at the bottom of the tomb, and is used with the panel on the pyramid containing the alien corpse.
Explosive Unit Alpha
Found inside the flying pig above the shuttle. After the zero-g digger has been used with the target surface on quadrant 2 of Atilla, the explosive unit alpha is used with the dirt.
Explosive Unit Beta
Found inside the flying pig above the shuttle. After the shovel has been used with the boulder on quadrant 3 of Atilla, the explosive unit beta is used with the target surface.
Eye Part
After using the creator's engraving on the panel in the map spire, the eye part is found by moving the rock with the triangular marking at the beach. It is shown to Brink at the tomb spire, is used with the slot in the relic near Brink, and is also used with the green console in the cathedral spire lab.
Flashlight
Available at the start of the game. After Maggie has been captured by the monster, the flashlight is used with the bat creatures in the cave interior at the tomb spire.
Glowing Crystals
Also called life crystals in the game, these are found in the museum at the museum spire, and after Brink helps Low to open the weakened door at the bottom of the museum spire they can be found in the pit. They are used on Brink's body at the nexus, on the dead creature at the water at the museum spire, on the left pile of loose bones at the bottom of the tomb, on the alien corpse in the pyramid at the bottom of the tomb and two crystals are used in the empty slots of the panel in the cathedral spire. To effect the ending, a glowing crystal can also be used on Maggie after she dies from falling off the path at the cathedral spire.
Gold Scepter
Found in the planetarium at the planetarium spire. It is used with the faint slight on the ceiling of the planetarium, and is also used to select the top-right part of the moon in the planetarium.
Green Engraved Rod
Found in the planetarium at the planetarium spire. The geometric shapes from the rod are used to open one of the doors in the nexus.
Jaw Bone
After using the shovel with the right grave on the planet surface, the jaw bone is found in the pile of bones. It is used on Brink after he gets his hand stuck in the crack.
Machine Part
After the device is used to find the critter that has the bracelet attached to it, the machine part is found by using the shovel on the tracker spot in the cave. It is used with the panel on the door outside of the cave.
Orange Engraved Rod
Found in the underwater cave at the museum spire. The geometric shapes from the rod are used to open one of the doors in the nexus.
Pen Ultimate
Available at the start of the game. It is used to communicate with other members of the team.
Purple Engraved Rod
Found on the floor in the nexus. The geometric shapes from the rod are used to open one of the doors in the nexus.
Plates (Atilla)
After pushing the four plates in the asteroid, the plates are found in the main room of the asteroid. They are put in the square indentations.
Plates (Planet)
There are four plates found on the planet. The first is found in the nexus, the second is found in the underwater cave at the museum spire, the third is found in the planetarium at the planetarium spire and the fourth is found in the island at the map spire. The four plates are put in the triangualar panel in the nexus to open the door to the cathedral spire.
Red Engraved Rod
Found outside the library at the museum spire. The geometric shapes from the rod are used to open one of the doors in the nexus.
Rib Cage
Found at the plateau at the planetarium spire. It is used with the hook at the plateau to make the trap.
Rod
Found at the plateau at the planetarium spire. It is used with the rib cage after it has been attached to the hook to make the trap.
Shovel
Found inside the flying pig above the shuttle. It is used with the boulder on quadrant 3 of the asteroid, with the right grave on the planet surface, with the small mound at the dirt ramp on the planet surface, with the small hole at the dais on the planet surface, with the cave at the planetarium spire, with the tracker spot in the cave after the bracelet has been attached to the critter and is also used with the stone plate outside the tomb.
Silver Scepter
Found in the planetarium at the planetarium spire. It is used with the faint slight on the ceiling of the planetarium, and is also used to select the bottom-left part of the moon in the planetarium.
Tablet
Found on the wall in the museum at the museum spire. It is shown to Robbins on the ledge at the map spire so she can reveal the secret island.
Tusk
After using the shovel with the right grave on the planet surface, the tusk is found in the pile of bones. It is used with the panel near the sparks in the nexus to remove the cover.
Wire
Found by pulling the hanging wire in the wreck on the planet surface. After the cover of the panel in the nexus has been removed by the tusk, the wire is connected to the sparks and the panel.
Zero G-Digger
Found inside the flying pig above the shuttle. It is used with the target surface on quadrant 2 of the asteroid, and is also used with the three odd projections in the asteroid.
Levels
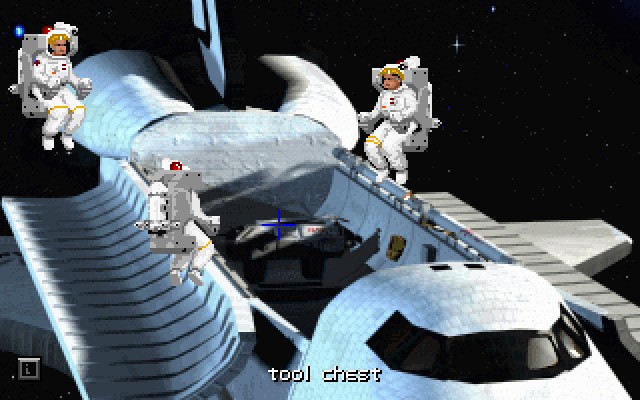
Space
The game starts in space, where three members of the exploration team: Brink, Robbins and Commander Low are floating above the shuttle near the asteroid Atilla. Select the Pen Ultimate from the inventory to get a close-up view. Select the Comm button, select Miles and then select the Flying Pig to separate it from the shuttle. Click the flying pig and Low will move it down toward quadrant 1 on the asteroid. Select the flying pig again and get the explosive unit Alpha, explosive unit Beta, shovel and zero-g digger from inside.
Exit the view of the flying pig and move off the screen into space. Select quadrant 2 on the asteroid and use the zero-g digger with the target surface. Use explosive unit alpha with the dirt, then use the arming key on it. Exit into space and select quadrant 3 of the asteroid. Use the shovel with the boulder to remove it. Use explosive unit Beta with the surface, then use the arming key on it. Exit into space and move left back toward the shuttle.
Select the Pen Ultimate, press the Comm button and select Borden. Select the nuclear explosive icon and Borden will tell everyone to get back inside the ship. A cutscene plays where the shuttle flies away from the asteroid as the explosive units are activated, which creates a tunnel in the surface. After the cutscene, the three team members float down into the tunnel, where they discover that the odd projections on the walls are not natural.
Push the metallic plate on the right and it moves to create a small shaft that leads down into a large room in the middle of the asteroid. Use the zero-g digger with the three odd projections on the left to reveal three more metallic plates. Push all three of the metallic plates, then move down the dark tunnel that was made by pushing the bottom-left plate. The team floats down the tunnel into a massive room in the middle of the asteroid.
Move over to the pedestal at the other side of the room to see the four plates that were pushed earlier. Get all four plates, then look at the square indentations and put all four pieces into the diamond shape. The shape changes itself into a triangle and the room is filled with light, which causes the asteroid to move away from Earth at an incredible speed. After a long journey it lands on a small platform on a mysterious blue planet.
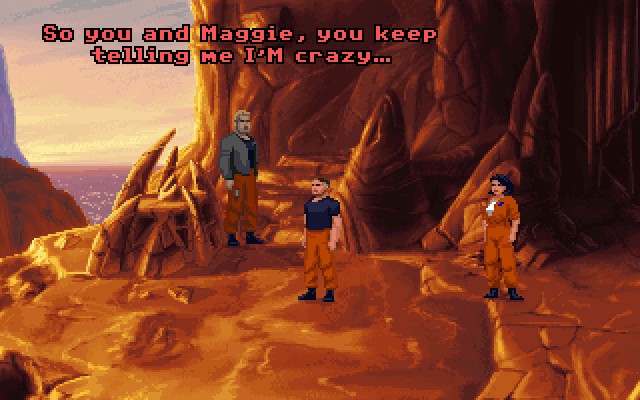
Dias
The team land on the planet and remove their space suits, which are no longer needed. After the conversation, walk east to the clearing to view the planet surface. There are three locations that can be visited around the clearing, and all are currently represented by '?' as they haven't been visited yet. Go to the left location to arrive in an area with a large spacecraft wreck.
Wreck
Enter the wreck and pull the hanging wire to display an image of a strange winged creature, which flies around for a few seconds and then drops a yellow rod on the floor. Open the chest and get the blue device from inside. Get the wire and the engraved rod, then walk back outside and walk east to the clearing. Walk to the top location to arrive in an area with three mounds of dirt, where strange rat-like creatures scurry around.
Grave
Use the shovel on the right grave to reveal a pile of bones below. Get the tusk and the jaw bone, then exit the area and go to the far right '?' location.
Dirt Ramp
Use the device to receive a signal which points to the small mound. Use the shovel with the small mound, then get the bracelet and exit the area.
Dias 2
The blue ghostly creature that was seen earlier in the wreck appears and float over a small hole at the right side of the platform. Use the shovel with the small hole and Brink walks over to investigate. He takes over the digging and after a few seconds falls down the hole and is killed in the fall. Low and Robbins climb down the hole and find themselves in a strange tunnel under the surface of the planet known as the Nexus.
Nexus
Maggie decides to split up so that she can discover more information about the planet, leaving Low on his own. Get the plate from the floor and continue to walk left until you find a purple engraved rod on the floor. Get the rod, then walk back to the right and walk south down the ramp opposite the dark tunnel. Low will arrive in a big room with a control panel and a triangular button on the left. Before the triangular button will work, we need to provide some directions first. Look at the control panel to do this.
This strange looking panel has seven buttons on it. The buttons are unmarked, but some testing will show us what they do. Start by clicking the left-middle, top-right, middle, middle-right and bottom-right buttons to display five different-coloured lights on the display: Purple, blue, red, green and yellow. Pressing the top-left button will remove one of these lights, while pressing the bottom-left button will remove all of them. To test out the directions we've just entered, exit the display and use the triangular button on the left.
A diamond will descend and will move left, up, right, down and will then pause to see if any objects below it can be collected. We can now work out that purple is left, blue is up, green is right, yellow is down and red is collect. Using this new information, use the control panel again, press the bottom-left button and enter purple five times, the bottom-right button to enter yellow twice and the small middle button to enter red once. Exit the panel and use the triangular button to make the diamond pick up the displaced lens.
Look at the panel again and press the bottom-left button to delete the rows of lights. Press the bottom-left button to enter purple five times, the top-right button to enter blue five times and then the small middle button to enter red once. Exit the panel and use the triangular button to make the diamond drop the lens in the light beam below, which will restore power to the nexus. Remove the panel on the slope and get the blue crystal from the empty slot, then walk back up the spiral slope to return to the nexus.
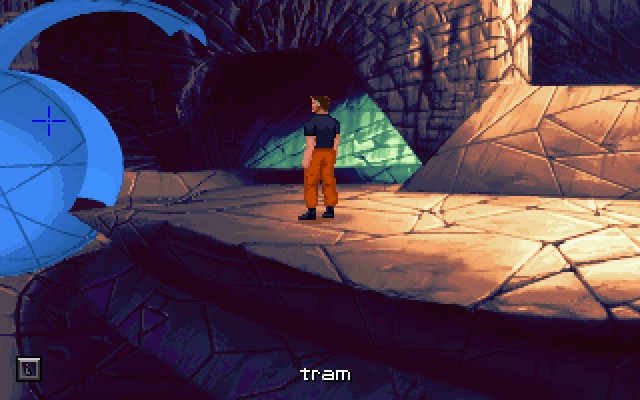
Look at the panel near the door on the left to see four red triangles. Open the inventory and use the examine icon on the purple engraved rod to see four geometric shapes at the end of the rod. Remember these shapes, then exit the view of the rod and click the four red triangles to put them in the same order as the shapes on the rod. The door will open, so walk through it to walk down to the tram station. After the brief conversation with Robbins, press the blue button on the triangular object to call the blue, spherical tram. Walk inside it and it will take Low to a new part of the planet.
Museum Spire
Walk down the steps and attempt to open the weakened door. Walk outside and go up the slope. Move forward at the top of the slope to see another one of the ghosts; this one hovers for a few seconds near the strange device at the edge of the path. Look at the strange device and hold the green button to make a light bridge from the spire (where we are) to the crystal that hovers above the planet. If a light bridge doesn't appear, then exit the view of the device and click on the lens to turn it until the light bridge button does work. Remember to hold the mouse button down or the light bridge will not have time to form.
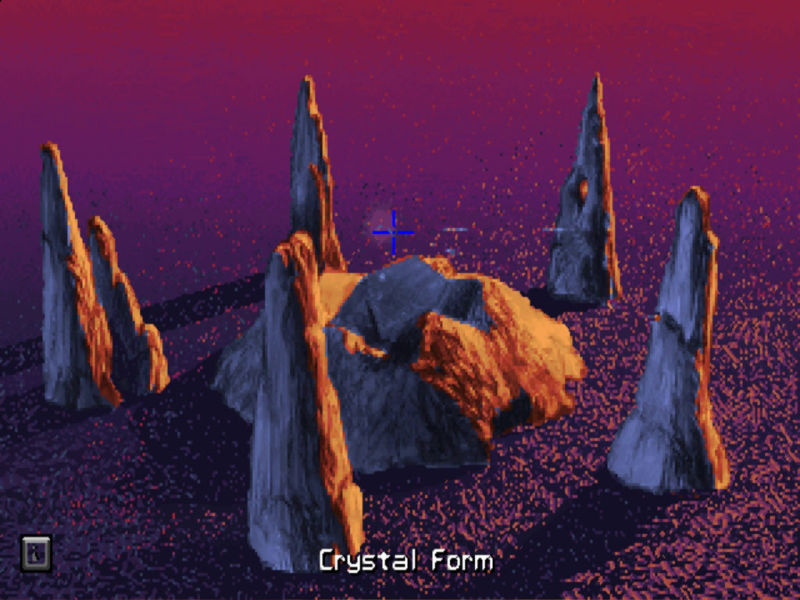
Exit the view of the panel and walk across the bright light to view all five of the spires on this planet. Walk to the crystal form in the middle of all of the spires and look at it, then walk back outside to return to the museum spire. Walk through the triangular door and get the tablet from the wall. Get the glowing crystals on the left, then continue left and go through the door to find Maggie in the room filled with the alien technology, which she names the library. Exit the library and get the red engraved rod from the path above, then walk right and go through the door to exit the museum.
Walk down the slope and go left toward the tram, then use the tram to travel back to the Nexus. Walk up the slope to the nexus and then walk right to find Brink's body lying at the bottom of the slope that he fell down earlier. Use the glowing crystals on Brink's body and he will be brought back to life, though in a much stranger form than his original self. Walk right and use the panel at the left side of the red door. Enter the shapes from the red engraved rod, then walk through the door to arrive in the tram station.
Press the tram call button to attempt to call the tram, but nothing happens. Walk back up the steps, go through the first open door on the left and use the tram to return to the museum spire. Try to open the weakened door and Brink will help to open it. The door opens to reveal a room with a pit of green life crystals, where a ghost briefly appears and hovers above them in the form of a skull. Brink takes this as a sign that the aliens of the planet want to share the life crystals, but Low thinks that the crystals are dangerous.
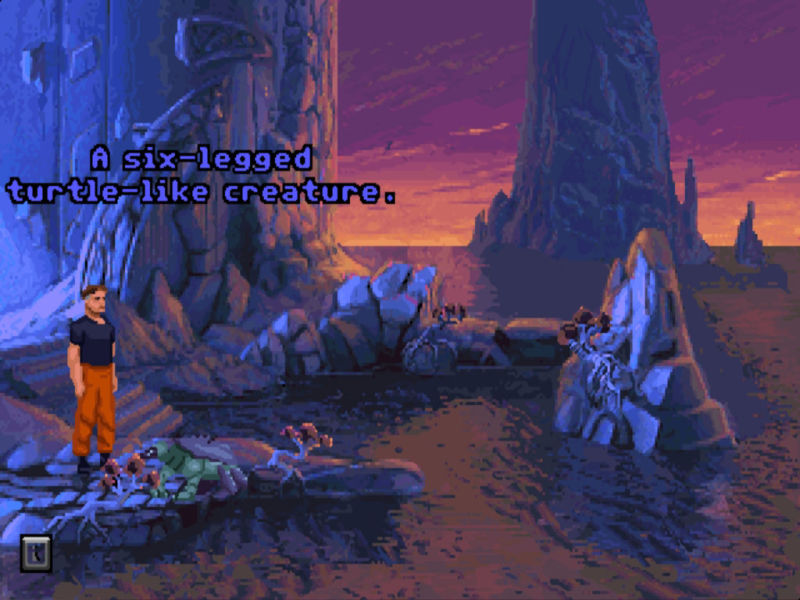
Low takes four of the crystals automatically, but take two more as we will need them for later on in the game. Get the canister on the floor, exit the room and walk north up the path to go outside. Look at the fossil on the floor and note the position of the bones. Exit the view of the fossil and walk down the path toward the water. A turtle-like creature will climb out of the water only to be swallowed by a massive sea monster, which spits out the remains of the turtle. Brink will run off at this point to explore the planet on his own, so after Low informs Robbins about this he decides to go on without him.
Look at the loose bones on the floor and arrange them in the same way as the fossil structure we saw earlier. To do this, left click a piece to pick it up, right click to rotate the piece and then left click again to drop the piece. Exit the view after finishing the puzzle and use the canister with the dead creature. Use a glowing crystal with the dead creature to bring it back to life. It will be eaten by the large sea creature again, but this time will explode underwater due to the canister.
Walk down the steps to enter the water to emerge in an underwater cave. Walk north to the chamber and get the orange engraved rod and plate. Exit the cave, swim through the water and walk left up the steps, then return to the tram station on the left and use the tram. Walk north up the steps to the nexus and use the first panel on the right. Enter the geometric shapes from the orange engraved rod to open the door. Walk through the open door and press the tram call button on the left, then use the tram to travel to the planetarium spire.
Planetarium Spire
Walk outside to view a long path leading up to the top of a cliff. Walk up this path to see a large chasm, where water washes up to the top of the other side. Wait until a rumble is heard, then click on the far side to float safely across to the other side of the chasm. If you fall down, just climb back up the cliff path and try again. Continue to climb up and adjust the lens at the left side of the strange device. Continue using the strange device and holding the green button to connect the light bridge until the lens is in the correct place.
Go right into the crevice and get the blue rod from the hole in the rock. Walk back outside and go north to the plateau, where a strange rodent-like creature will run off with an item that opens the door. Get the rod and pole. Low will move the pole slightly to the right. Get the rib cage. Get the cover and the dowel at the left side of the door. Use the dowel with the hole in the middle of the circular structure. Get the pole and use it with the pin. Use the rib cage with the hook, then the rod with the cage to make the trap.
Look at the hole nearest to the trap and the critter will run out to the right. Move left and wait for the critter to appear at the right side of the circular structures. Move right and the critter will be caught in the trap. Use the bracelet with the critter, then get the trap to release the critter. Get the rod from the floor, then walk left and use the shovel with the cave to widen the entrance. Walk into the cave and use the device to get a signal from the critter that ran into the cave wearing the bracelet.
Use the shovel with the tracker spot and get the machine part. Exit the cave, walk right and use the machine part with the panel at the left side of the door. Use the cover with the panel, then press the panel to open the door. Walk through the door and get the green engraved rod from the floor, the twin scepters and the plate. Use the gold scepter with the faint light on the ceiling of the room to view planets.
Click the gold scepter on the lightest top-right part of the moon, then use the silver scepter on the darkest, bottom-left corner of the moon. If you've done this correctly, the door to the planetarium will close. Push the button to open the door and exit the planetarium. Walk left to the clearing and walk across the light bridge. Select the museum spire, walk down to return to the tram station and use the tram to ride back to the nexus.
Nexus 2
Walk north into the dark tunnel after returning to the nexus and a short scene will play where Low walks through to the area on the other side. After exiting the tunnel, walk left along the path and press the button to open the right door of the airlock. Walk into the airlock and press the green button on this side twice, once to close the right door and once to open the left door. Walk left through the open door to enter the command center.
Use the glowing panel in the middle of the room, then use the blue rod with the hole to make two more sliding crystals appear. Select the black crystal so that the tip goes white, then move each sliding crystal up until the tip gets even whiter. When all three of the sliding crystals have been moved into the proper places, the black crystal will turn blue. Restoring power to this crystal makes the broken tram that we saw earlier now work.
Exit the view of the crystal and walk north to the airlock. Press the green button twice to close the left door and open the right door, then walk right and go through the dark tunnel to return to the nexus. Go through the second open door on the right (the door is shaped like a star and was opened with the red engraved rod) to return to the tram station with the now-functioning tram. Press the tram call button and use the tram to travel to the tomb spire.
Tomb Spire
Walk outside and walk up the path to the plateau. Use the shovel with the stone plate and walk down the hole to enter the tomb. Use the blue crystal with the hole to make lights appear. Walk north up the path to see another of the light bridge devices. Use the strange device and move the lens until the button joins the light bridge. Walk left down the path to the tram station.
Use the tram to travel back to the nexus. Walk up the steps to the nexus and use the tusk with the first panel on the right. Use the wire with the panel, then use the wire with the sparks. Enter the geometric shapes from the green engraved rod and go through the open door to the partially ruined tram station. The tram still works here though, so press the tram call button and use the tram to ride to the map spire.
Map Spire
Walk north to the ledge and enter the cavern at the right side of the area. Go right to the pit and north to the opening to arrive in a room with a panel. Use the panel and enter the geometric shapes for the purple, red, orange and green engraved rods. The purple rod will show a scene of the museum spire, the red rod shows a scene of the tomb at the tomb spire, the orange rod shows a view of the crack at the planetarium spire and the green rod shows some caves. After viewing all four rods, walk through the opening to see a light bridge device.
Open the panel on the device and select it to view the insides of the machine. Click the source three times so that the beam points to the bottom-left prism. Click the bottom-left prism three times, the top-right prism once and the top-left prism four times to fix the device. Adjust the lens and keep trying to press the button the device until the light bridge is joined. Exit the view of the device and walk across the light bridge, then select the tomb spire.
Tomb Spire 2
Walk north to the edge and enter the tomb. Walk onto the tile with the "CC" marking to find a loose stone. Use the rod with the loose stone, then walk outside. Get the dirt at the left side of the tomb entrance to reveal a lens. Light from the moon shines onto it, making a statue rise up on the crypt in the tomb. Low returns to the tomb automatically. Select the statue and it turns to dust when Low touches it.
Stand on the crypt to travel down to a secret tunnel at the bottom of the tomb. Walk left and walk toward the right pile of loose bones to see a life crystal fall out of the slot, making a vicious looking guard dog appear. Use a glowing crystal on the left pile of loose bones and the dogs attack each other. Use the yellow engraved rod on the slot at the right side of the door, then walk through the doorway to arrive in a room with a small pyramid.
Walk to the pyramid to see an alien corpse inside. Use the yellow engraved rod on the panel to open the pyramid and use a glowing crystal on the alien corpse. It talks in a language which Low cannot understand, so exit the conversation menu. Low contacts Maggie to tell her what has happened, but as he does this Maggie is captured by a massive spider-like creature. Walk away from the pyramid, go through the door and use the crypt to return to the tomb.
Walk outside, walk north up the path and go right to the cave interior to see Bring working in the background. Use the flashlight with the bat creatures at the top of the cave and they will fly into Brink, making him run away. Walk north to the platform and get the crystal stash. Brink will return at this point and Low agree to give the crystals back as long as he helps to rescue Maggie. Walk north to the cavern, left to the path and then walk along the light bridge. Select the map spire.
Map Spire 2
Walk north to the map room, left to the pit and go through the doorway to enter the chamber. Walk left to the nest to find Maggie tied up in the web of the creature. Talk to Brink about the monster and Low walk through to a pond at the bottom of a waterfall. Walk to the falls source and push the rock to divert the flow of the water. Climb down and walk right to the nest. Talk to Brink about the grate and Maggie will open it when the monster gets near. After the monster has been defeated, Brink will hit Low and take all of the crystals.
We get some more soon, but for now walk through the door on the left, then go north to the ledge. Show the tablet to Robbins and she reveals a secret island on the water. Walk into the island opening and get the plate that is floating above the end of the path. Walk through the door and go through the opening, then walk right to the cavern. Brink contacts Low at this point to say that his hand is trapped in a crevice near a waterfall. Go right to the pit, north to the opening and north again through the next opening. Walk across the light bridge and select the planetarium spire.
Planetarium Spire 2
Walk right to the crevice to see Brink with his hand stuck in the rock. Use the jaw bone with Brink and Low cut his hand off to release him from the rock. Low will automatically go to the triangular panel in the nexus. Use all four plates in the panel to open the final door in the nexus. Go through the door, press the tram call button and use the tram to ride to the cathedral spire.
Cathedral Spire
Walk north through the door to enter a large room with various control panels. Look at the green console and look at the gap in the machinery to see that there is a part missing. Exit the view of the console. Climb the long path up and go outside at the top. Continue left and knock the nest off of the light bridge device, then adjust the lens and use the button on the device until a light bridge is made. Walk over the light bridge and go to the museum spire.
Museum Spire 2
Walk down the path, go left to the tram station and walk through the broken door to the room with the life crystals. Get two crystals, then exit the room, go outside and walk back up the path to the light bridge. Walk over the light bridge and go to the tomb spire.
Tomb Spire 3
Walk north to the edge and go down to the tomb. Stand on the crypt to be taken down to the lower level, then walk left and go through the door to return to the room with the pyramid. Walk up to the pyramid and use the yellow engraved rod on the panel. Use one of the glowing crystals on the alien corpse and Maggie will step forward to translate the words that the alien speaks. Ask about the alien device four times and the eye part twice. Exit the conversation and get the creator's engraving from the floor. Walk right along the walkway to the door, then use the crypt to travel up to the tomb. Walk outside, go north along the path and walk along the light bridge. Select the map spire.
Map Spire 3
Walk through to the map room, look at the panel and enter the geometric shapes from the creator's engraving to view a beach. Walk left to the pit, left to the chamber, left to the nest, right to the door and north to the beach. Remove the rock with the triangular marking and get the eye part. Go north to the falls, right to the nest, left to the door, right through the pit, north through the opening and cross over the light bridge. Select the cathedral spire.
Cathedral Spire 2
Walk right to the lab and go down the long spiralling path to the green console at the bottom. Brink will appear at this point and demand that Low gives him the life crystals. After he leaves, walk up the path to the top and cross over the light bridge. Select the tomb spire.
Tomb Spire 4
Walk right to the cave interior and north to the platform to meet Brink. Show the eye part to Brink, then use the eye part with the slot in the relic to get two life crystals. Brink will attempt to kill Low, but will fall over the edge of the cliff. Get the eye part from the relic, then walk right to the cavern, left to the path and cross over the light bridge. Select the cathedral spire.
Cathedral Spire 3
Walk right to the lab and go down the long spiralling path to the green console at the bottom. Look at the console, use the eye part in the gap in machinery and a life crystal in both empty slots. Exit the view of the console and walk up the long spiralling path. Talk to Robbins about the alien device, and she will say that the person that operates the machine may die. When she turns the machine on, she will be fall down to the path below and be killed in the fall. Though Maggie made Low promise that he was not to use a life crystal on her if she died, using one here will effect the ending very slightly.
Either use a life crystal on her or leave her where she is, then walk up to the top of the path. Walk left and cross over the light bridge to see a massive guard dog come charging down it from the crystal. Use the strange device, hold the button to retract the bridge and the guard dog will fall down. Look at the strange device again and use the button to create the bridge leading to the crystal, then exit the view of the device. Cross the light bridge and walk into the eye in the middle of the crystal. Select the portal to complete the game.
Gallery
Track map view