home ➜ Nintendo® ➜ N64® ➜ Shooter ➜ Perfect Dark ➜ 9 Skedar Ruins - Battle Shrine - Walkthrough
Perfect Dark #11 - 9 Skedar Ruins - Battle Shrine
9 Skedar Ruins - Battle Shrine - Walkthrough
Perfect Dark #11
Missions
- 1.1. dataDyne Central - Defection
- 1.2 dataDyne Research - Investigation
- 1.3 dataDyne Central - Extraction
- 2 Carrington Villa - Hostage One
- 3.1 Chicago - Stealth
- 3.2 G5 Building - Reconnaissance
- 4.1 Area 51 - Infiltration
- 4.2 Area 51 - Rescue
- 4.3 Area 51 - Escape
- 5.1 Air Base - Espionage
- 5.2 Air Force One - Antiterrorism
- 5.3 Crash Site Confrontation
- 6.1 Pelagic-II - Exploration
- 6.2 Deep Sea Nullify Threat
- 7 Carrington Institute - Defense
- 8 Attack Ship - Covert Assault
- 9 Skedar Ruins - Battle Shrine
- 10 Mr. Blonde's Revenge*
- 11 Maian SOS**
- 12 War***
- 13 The Duel****
- Locations
- Carrington Institute Training
- Weapons
- Combat Simulator
- Hints and Tricks
- Cheese Locations
*Complete dataDyne Defection to Skedar Ruins on Agent to unlock.
**Complete dataDyne Defection to Skedar Ruins on Special Agent to unlock.
***Complete dataDyne Defection to Skedar Ruins on Perfect Agent to unlock.
****Complete all Carrington Institute Training scenarios to unlock.
9 Skedar Ruins - Battle Shrine
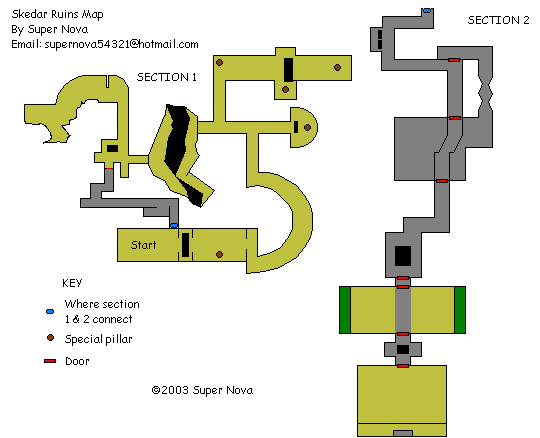
Agent
1. Identify temple targets
You will start out in a dead-end clearing within the maze-like ruins of the Skedar Temple. Before going anywhere, switch on the R-Tracker and you should notice three dots appearing on the radar, these are the temple targets. Take out the Callisto and head forward to the opening ahead. Once you pass through the opening, you will hear a Skedar emerging from your left or right, quickly back into the clearing and blast it when it comes at you. Head back through the opening and around the corner. You will now be at the entrance to a long hallway. A Skedar will appear, stay where you are and blast it as it charges. A second one will be at the far end of the hallway with a Reaper, use the Falcon 2 and zoom in to blast it, just try not to get hit from it is fire. In this hallway, a large pillar is on the right side, if a yellow dot is near the center of the radar whenever you are standing by a pillar, it means that the pillar is a target.
There are five pillars around, you will only have to deal with three of them. If it is a target, switch to the Target Amplifier and throw one on it, otherwise take out the Devastator and shoot a wall-hugger grenade onto the pillar to destroy it (doing this to the two pillars you do not deal with will give you a double Phoenix later). Head through the opening at the other end of the hallway and go around the curved path. More Skedars will appear and charge at you, be ready with the Callisto to mow them down. Go around to the end of the curved path, on the right will be a long canyon. Another Skedar might appear here, blast it and continue to the end of the canyon. Once you step out of the canyon, run backwards as two Skedar either side will appear and charge, blast them and continue on.
Go down the right path to reach a dead-end with another pillar, throw a Target Amplifier on it, if it is on the radar, otherwise destroy it with the Devastator. Head back out and go down the other path. Straight ahead will be the ravine leading to the Inner Sanctum, on the right will be another long pathway. Edge around the wall and look down the long path, a Skedar with a Reaper is at the other end, quickly blast it. Head down, another pillar will be straight ahead and an opening on the right wall. If the pillar's a target, throw an amplifier or destroy it if it isn't. Through the right opening are two Reaper-wielding Skedar behind a fallen pillar, use the Callisto to blast them. Head through the opening behind them, then deal with the next pillar up the stairs on the right. Up the staircase on the left is a shield, behind the ruined wall is another long room with the final pillar. Once all three targets are set they will eventually explode and you will have completed objective 1.
2. Activate bridge
Head back to the ravine opening leading to the Inner Sanctum, and if you have destroyed the two non-target pillars with the Devastator, a Phoenix will be on the ground on the edge of the ladder leading down. Grab it and you will have a double Phoenix. Use them or the Callisto to blast the Skedar over by the ladder on the other side of the ravine, then edge over the top of the ladder in front of you and look down to the right. Another Reaper-wielding Skedar will be below, snipe him out before he can hit you. There are now two ways in which you can reach the other side of the ravine. One way is to carefully climb down the ladder first, but make sure you do not jump off and fall in the hole. Climb around the rocky ledge to the left, then jump across to the other side where the gap is the smallest.
Climb around the ledge and over to the ladder. The other way is to take a running jump from the top of the ladder and sidestep over to the other side, if you are fast enough you should clear the ravine and land to the right of the ladder. Climb up and go across the path over to the walls on the ruined temple. When you jump down off the path, a Skedar will appear just on your left, back away and blast it quickly. Behind you, a path leads off to a dead-end area with a shield and two Skedar, and within the walls of the temple is the weak section of wall. Switch on the IR Scanner so you can see it, then use the Devastator or the Phoenix's explosive shells to break it open.
Head in and around the corner. You will reach a long corridor leading off to the left. Several mini-Skedar will appear, use explosive shells to knock them down easily. Once they stop coming, head down the corridor and open the door on the right wall at the corner. Inside will be another mini-Skedar, blast it and walk over to the small rock near the pillar. Crouch down and push the rock over the top of the switch in the floor by the pillar to activate the bridge and to complete objective 2.
3. Assassinate Skedar leader
The rock on the pillar will keep the bridge active so you can pass over, leave the room and go right. Go around the corner and head across the bridge. Switch on the IR Scanner and continue on. Several more mimi-Skedar will appear in the darker corridors, blast them with the Phoenix, just make sure they do not jump at you. Head around the corridors until you reach a door on the left and a ramp leading up on the right. Blast the mini-Skedar at the top of the ramp, then head through the door at the base of the ramp.
Using the Phoenix's explosive shells, whip out around the corner in the next room and you will be in a larger area with a Slayer-wielding Skedar straight ahead. Blast him with the explosive shells, then hopefully when he fires a rocket it will blow in his face. Run over and grab the Slayer, then stay hidden, as another Skedar with a Slayer is around the corner below a bridge. Use the same technique to blast it, then head back over to the ramp in the other room. Head up the ramp and go through the door at the top. You will now be on the bridge in the room where the two Slayer-wielding Skedar were. Head over the bridge, once you reach the corner, sneak around it and quickly pummel the Skedar standing in front of the door with explosive shells. Head through the door and go through the next room.
You will now be in the Inner Sanctum area. Go through the next two doors and you will be in a large dark room. Once Joanna stops speaking about the Skedar army in the room, the lights will come on, and Skedar will begin to come out of the green doors on the left and right sides of the room. Using the Devastator and Slayer, fire at the base of the doors to easily blast the Skedar inside, or just wait for each one to come out and blast them. Each one has a Mauler, try to grab as many as possible. Once they are all gone, head over to the next door opposite to the one you came in through. Head around the pillar in the center of the small room, then go through the next door to finally reach the Skedar King's shrine for the final battle.
Warning This next part will tell you exactly how to defeat the Skedar King, so if you have not done it yourself, I recommend that you do not read on and try to beat the king on your own.
The shrine is a large long room, and the Skedar King will be standing up on a platform at the end of the room with a large statue behind him. The statue has five large spiked-shaped arms, they will be critical to defeating the king. The king has an indestructible shield, so you will not be able to directly injure him with your weapons. Take out the Mauler and head into the room. At first the king will begin firing rockets at you, as he fires them strafe left or right to easily dodge them, just stay away from the rear of the room so you do not get caught in the explosion. You will have to weaken his shield and then damage the statue, so begin firing charged shots at him as much as you can.
He might sometimes run to one side of the platform and raise his staff in the air, if he does, a lightning bolt will flicker on the base of the platform on the left or right side, if it flashes on the left, a normal sized Skedar will appear and charge at you, blast it and grab the Mauler it drops for extra ammo. If the flash is on the right a mini-Skedar will appear, just blast it and grab the ammo it drops. The King might sometimes completely disappear, if he does he will teleport down to the ground and charge at you, make sure he does not get too close, switch on the IR Scanner to see him and blast away before he moves back to the platform.
Crouch down in front of it. You should notice that normally each arm on the statue has a glowing yellow shield around it. When the king crouches down to recharge his shield, all the arms except the largest will be exposed. Aim and shoot one of the arms with a charged shot to destroy it instantly, with other weapons you will need to fire a few more rounds into each arm to destroy them.
Once an arm falls off, the king will jump up again and resume his rocket-attack, keep blasting him quickly to drain the shield. Keep destroying the arms when he crouches below the statue, once all but the largest one pointing straight up are gone, it is shield will go down. Blast the final arm of the statue and once it falls, enjoy the finale, and get ready for the Special Agent setting, you are not out of this game yet.
Special Agent
1. Identify temple targets
Once you begin, switch on the R-Tracker and equip the Callisto. Head forward, then once you pass through the opening and you hear the Skedar appear, quickly dash back and pelt it once it appears around the corner. Head around into the hallway with the first pillar. Wait for the cloaked Skedar to appear, blast it then finish off the Reaper-wielding Skedar at the rear of the hallway. If the pillar here is a target, throw a target amplifier on it, otherwise destroy it with a wall-hugger grenade from the Devastator.
Head over to the next opening and go around the curved path. Blast the two Skedar appearing ahead and behind you, then go down the long canyon path and blast the Skedar that appears there. Head down to the end then quickly backpedal into the canyon, pop the two Skedar that rush at you from ahead. Leave the canyon, then head right and deal with the pillar behind the wall at the end of the path. Head back out, then turn right at the first opening before the ravine.
Charge down the Reaper-wielding Skedar at the end of the path, then deal with the pillar behind it. Sneak out from the opening on the right wall of the canyon, then carefully blast the two Skedar firing at you from behind the fallen pillar. Once they are down, head over to the next opening, deal with the pillar at the top of the stairs on the right, then deal with the final pillar behind the ruined wall ahead. Once all three target amplifiers are placed correctly objective 1 will be complete.
2. Activate bridge
Once the three pillars are done with, head over to the ravine cliff and pick up the double Phoenix on the edge (make sure you destroy the two unused pillars). Take out the double Phoenix, then fire an explosive shell at the large rock covering the ladder on the other side of the ravine to uncover it. Pound the Skedar across the ravine, then slowly edge over the ladder and pound the second Skedar below on the right. With both gone, carefully drop down onto the rocky ledge, then head down the left and cross to the other side where the gap is smallest, or you can just make a running jump from the top of the ladder to the other side.
Head over to the ladder, climb up and head down to the ruin's walls. Once you drop down from the path, swivel and face the left, pound the Skedar that appears there. If you need a shield, head down the opening in the corner of the area, take down the two Skedar and find the shield in a small alcove. Once you are ready, use an explosive shell to blow open the hole in the wall of the ruins and head in. Head around the corner and over to the long corridor, but before dropping down, fire a few shells into the floor to blast the mini-Skedar that appear there. Once they are gone, drop down and head left.
Once you reach the bridge control room door on the right, stand back and wait for the mini-Skedar to appear, then pound them with shells. Open the door at the corner, blast the mini-Skedar inside the room, then push the moveable rock onto the button on the floor to activate the bridge to complete objective 2.
3. Gain access to Inner Sanctum
Head out of the room, then round the corner on the right and head across the bridge. Switch on the IR Scanner when you reach the darker corridors and keep an eye on the floor for mini-Skedar, pound them when you spot any. Head over to the ramp, pound any mini-Skedar around, then head through the door at the base of the ramp. Round the corner, then quickly pound the Skedar at the end of the room with explosive shells, so that the rocket he fires explodes before it can reach you. Rush up and grab the Slayer he drops, then pound the second Slayer-wielding Skedar around the next corner. Don't pick up the Slayer drops just yet, take out the first one you picked up, then walk over to the small table behind the pillar which has a spiked statue on it.
A message will appear prompting you to make a "sacrifice," so press B to drop the Slayer on the table (you can also drop any other weapon on the table except the Reaper). The power generator will reactivate and you will now be able to get into the Inner Sanctum. Go back and pick up the Slayer the second Skedar dropped, then head back to the ramp and proceed up it. Head through door, out onto the bridge, then pound the Skedar in front of the next door. Head through to reach the Inner Sanctum to complete objective 3.
4. Assassinate Skedar leader
Head through to the secret army room, then use the Devastator and Slayer to waste the Skedar behind the paired doors, then finish off the single ones left. Don't forget to grab their Maulers, then take one out and proceed through to the shrine room. By now you will know how to defeat the Skedar King, just remember to pound him with charged shots from the Mauler to drain his shield quickly. You should hopefully be able to weaken the shield quick enough so that he cannot perform any of his special attacks. Destroy each spike of the statue, then finish off the final one to eliminate the king and to complete the game! Congratulations, now for the hardest mode of all, Perfect Agent!
Perfect Agent
1. Identify temple targets
Here it is, the final test. You will need to destroy the entire secret Skedar army this time before facing the king. Once you begin, switch on the R-Tracker and take out the Callisto. Head forward through the opening ahead, then quickly dash back when you hear the Skedar appear. Stand back and pound it in the face with high-impact shells to knock it down fast. Head through the opening and around the corner. Crouch right down and look into the long corridor ahead with the first pillar. Just to the right of the slanted statue you should be able to see the Reaper-wielding Skedar at the end. Pound it and you should easily avoid it is fire from here.
Stand up and enter the corridor. Once the second Skedar appears, stand back and blast it in the face before it reaches you. If this pillar is a target (check the radar at the top right of the screen) throw a Target Amplifier at it, otherwise take out the Devastator and fire a wall-hugger grenade at it. Head through the next opening and have the Callisto out. Go around the curving path, once you see a Skedar appearing at the end, quickly pound it, then turn around and wait for the other one to appear. Finish it off then head over to the long canyon at the end of the path. A third Skedar will appear down the canyon, quickly pound it before it charges at you. Head down the canyon path, once you reach the end step out then backpedal into the canyon.
Two Skedar from the left and right will charge at you, keep backing up while firing at them. With both down, go to the end of the canyon and head right. Deal with the pillar on the other side of the ruined wall ahead, then leave and go over towards the ravine straight ahead. Once you see the opening on the right wall, slowly edge around until you can see the Reaper-wielding Skedar at the end of the path. Pound it then head down. Deal with the pillar at the end of the path, then slowly look through the opening on the right wall. Two Reaper-wielding Skedar will fire at you from behind a fallen pillar, but the pillar will block most of their shots.
Finish both off then head through the opening behind them. Deal with the pillar up at the top of the staircase on the right, then go around the ruined wall and deal with the final pillar in the next room. Once all three amplifiers are placed correctly you will have complete objective 1 - remember to destroy the two unused pillars with Devastator grenades.
2. Activate bridge
Leave the area and head back to the ravine. Go up to the edge and wait there. Once all the pillars blow a Phoenix will appear at the edge of the cliff. Grab it to have a double Phoenix. Take them out and switch to explosive shells. Fire a single shot into the rock on the other side which covers the ladder to destroy it. Aim at the Skedar standing near the rock and pound away at it to knock it down, then crouch down and slowly look down to the right of the ladder below you. You should spot the second Skedar, edge over until you can see it properly then pound away until it falls over.
Now you have got two ways of making it across to the other side. The first is by dropping down the ladder onto the catwalk, then head down over to the smallest gap in the ravine, jump across then head over to the next ladder. The other way is to just take a running jump and sidestep off the ladder over the ravine. If you are fast enough you should land on the other side by the ladder. Climb up the ladder and head down the path. Once you drop off into the area with the ruined Inner Sanctum walls, quickly look to the left and back away. Pound the Skedar that appears there before it charges at you.
Go around to the weakened wall on the right and blow it open with a single explosive shell. Head in and go around the corner. Before you jump off the path into the long corridor, fire a shell into the ground ahead to knock down the mini-Skedar there. Head into the long corridor and go left. Once you reach the corner, pump two shots into the ground ahead to knock down the next two mini-Skedar. Open the door on the right near the corner and quickly pound the mini-Skedar inside. Crouch down and push the rock over to the top of the button behind the pillar to activate the bridge to complete objective 2.
3. Gain access to Inner Sanctum
Leave the room and head back out to the corridor. Go around the corner on the right and head across the bridge ahead. Switch on the IR Scanner so that you can see in the darkened hallways, once you reach the first corner stand back and fire a shot at the first mini-Skedar to pound it. Go around the corner, head straight forward, then look down and fire a few shots ahead where the mini-Skedar are appearing from. Once they stop coming, go around the corner and head down the next hallway. Round the next corner and go to the end of the hallway to find the door at the base of the ramp. Look up the ramp and blast the mini-Skedar(s) at the top of the ramp.
Head through the door and round the corner. Quickly pound the Slayer-wielding Skedar at the end of the room, if you hit it while it fires a rocket, the rocket will explode and blow the Skedar away. Go down and grab the Slayer it dropped, then round the corner and pound the second Slayer-wielding Skedar. Once it is down, go around the corner beyond the large pillar, but do not pick up the Slayer the second Skedar dropped. Go over to the green-lighted altar below the transparent bridge, take out the Slayer and look down at it. Press B to drop the Slayer onto the altar to re-activate the power generator.
Head back to the ramp and grab the Slayer the second Skedar dropped on the way. Head up the ramp and go through the door to find the bridge spanning the power generator room. Take out the double Phoenix, quickly go around the corner ahead and pound the Skedar standing up against the door ahead. Go through the door to reach the Inner Sanctum to complete objective 3.
4. Destroy secret Skedar army
Round the corner and go through the door ahead. Take out the Devastator and enter the darkened room. You will now be in the secret army room, once Joanna stops speaking the lights will come on and the music will pick up. Switch to primary fire, then fire a single grenade at the center base of two of the paired doors on the right to blow the Skedar inside away. Fire another grenade at the base of the other two paired doors on the same wall, then take out the Slayer and look at the other wall opposite. Fire a rocket at the two paired doors, then take out the double Phoenix and open the single door on the right corner. Pound the final Skedar inside to finish off the secret army to complete objective 4.
5. Assassinate Skedar leader
Now for the king. Grab as many Maulers as you can, all of the Skedar in this room will have dropped one. Head through the door opposite the one you entered the room through, round the pillar in the next small room and open the next door to reach the shrine room. By now you will definitely know how to defeat the king, but remember that you can use either the Mauler or the double Phoenix. With the Mauler, fire three charged shots into the king to weaken his shield enough, once he crouches down in front of the statue, fire a single charged shot into an arm of the statue to destroy it. Keep repeating this procedure to defeat the king.
You can also use the double Phoenix's explosive shells, pound away at the king, once he fires a rocket it will blow in his face and waste his shield. Once he crouches down in front of the statue, you will need to fire three shots into each statue arm to destroy them. Use either of these two methods to defeat the king, once you destroy the final statue arm, that's it, the king's dead and you have finally conquered the incredibly difficult Perfect Agent setting! Congratulations, time to celebrate and it is probably about time that you started raising your combat simulator rankings! Sit back and enjoy the finale and credits, you have earned it.
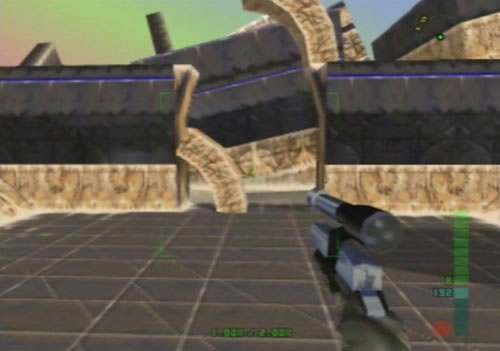
First thing you should do here is switch on the R-Tracker

This place is really hot, good thing you will not feel the heat

Walk forward and back away as this Skedar attacks
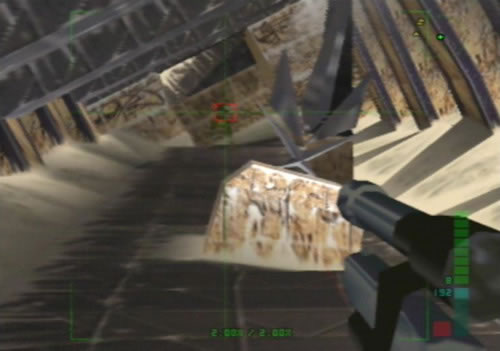
Snipe the Reaper-weilding Skedar at the end of the hall from here
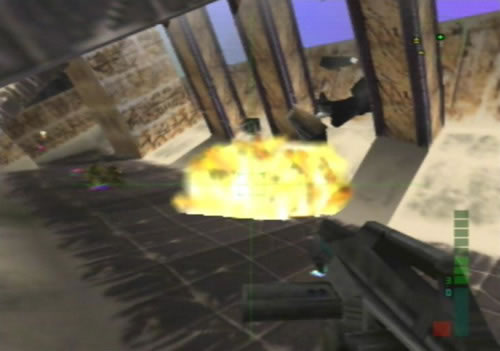
If a pillar is not targeted on the radar destroy it with the Devastator
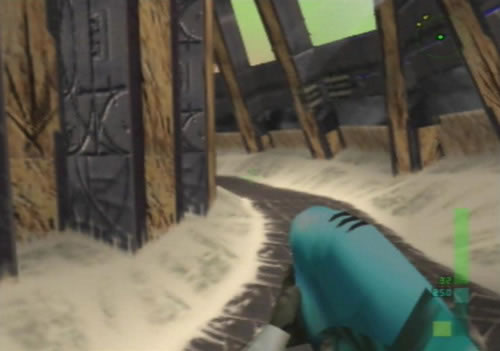
Go around this hallway carefully, cloaked Skedar will appear in front and behind
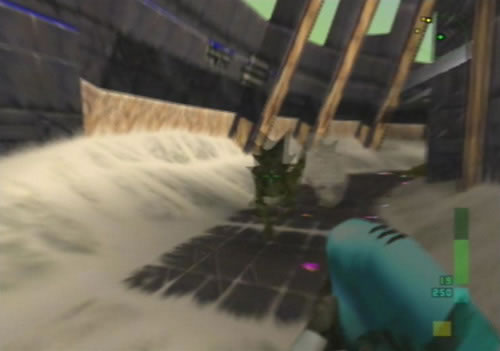
Shoot them from afar and watch out for their lunging attacks

Two more will come out from that hallway ahead, back away while firing
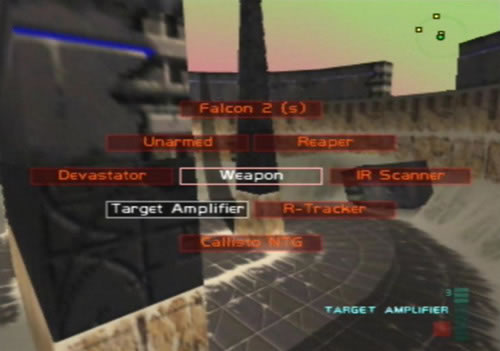
This pillar's on the radar, so throw a Target Amplifier on it
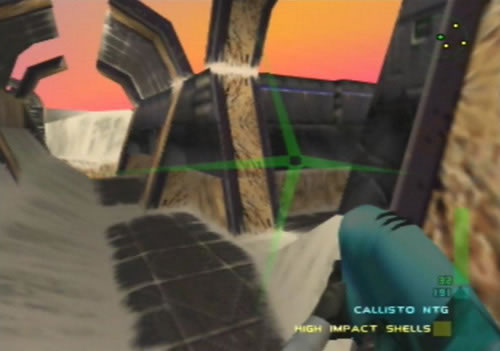
Do not rush down that corridor yet, there is a Reaper-weidling Skedar at the end

Use the Falcon 2 to pick him off while taking cover

Take care around these two Skedar behind the fallen pillar

Here is a second pillar ready for an amplifier
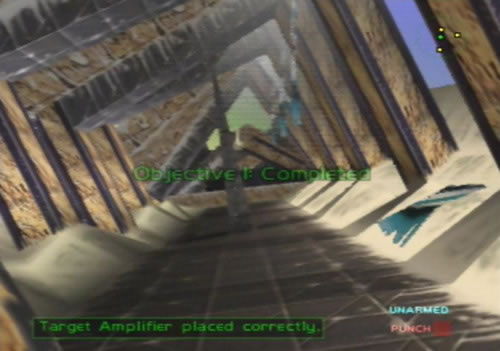
And here is the final one. Stay back as they will explode shortly after you plant the final one
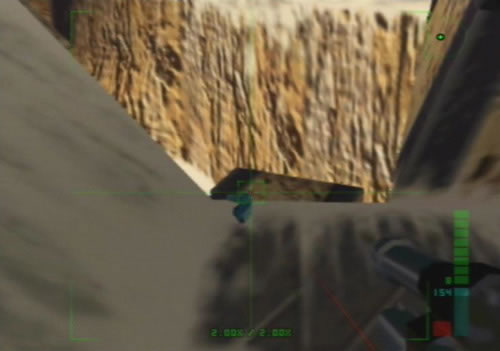
If you destroy the two non-targeted pillars a double Phoenix will appear here
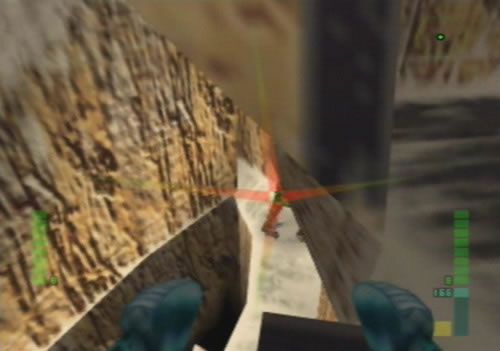
Use Explosive Shells to cream this Skedar below
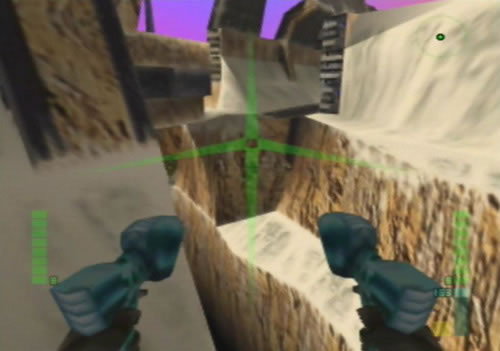
Fire a single shot into this rock wall to reveal the ladder across the chasm
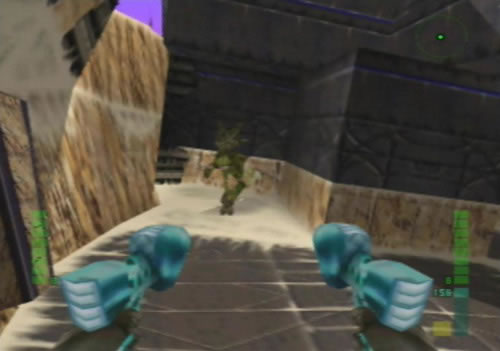
Cross the ravine and watch out for this Skedar beyond the next corridor
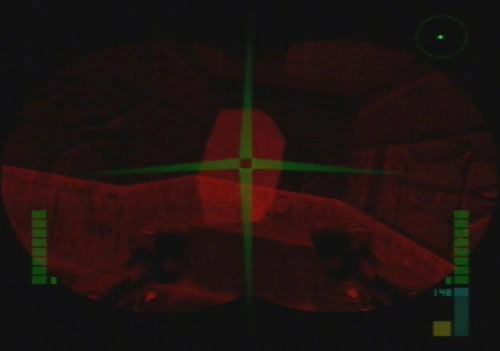
Using the IR Scanner you will find this weak section in the wall
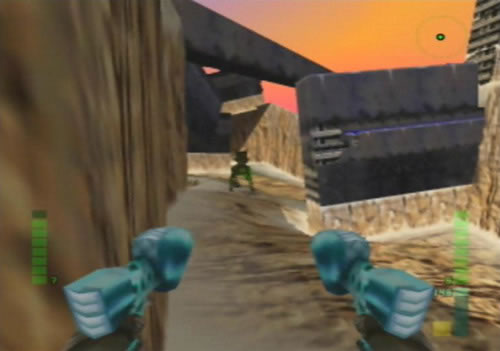
Around here you will find a shield on Agent and Special Agent

Once inside the temple watch out for mini-Skedar hopping about
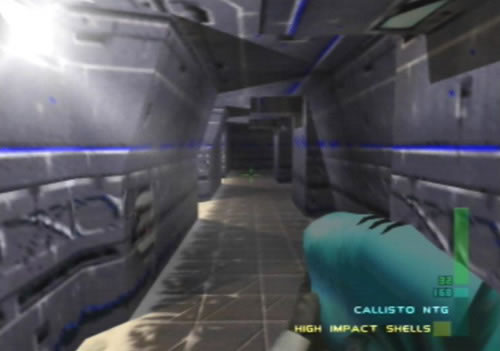
Mini-Skedar will come around that corner ahead, you will hear them coming
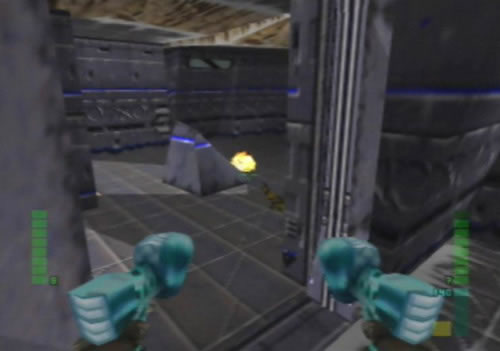
Open the sparking door and fry the mini-Skedar inside

Push this block onto the button behind the pillar to activate the bridge
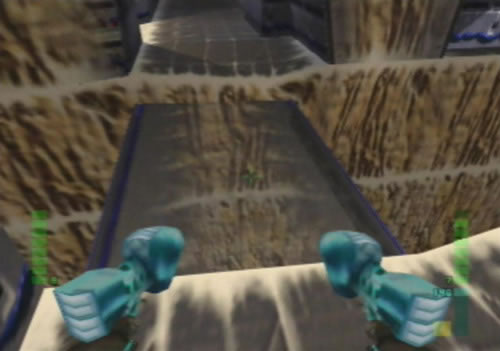
With the block holding the button down you will be able to cross this ravine
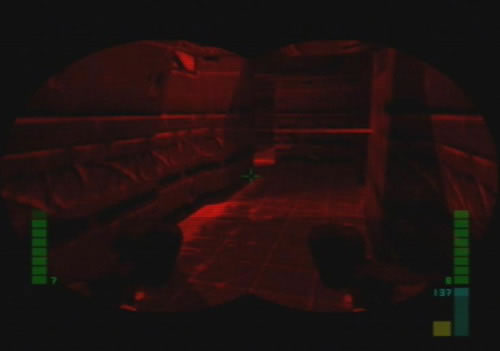
Use the IR Scanner to spot the mini-Skedar easily in the dark
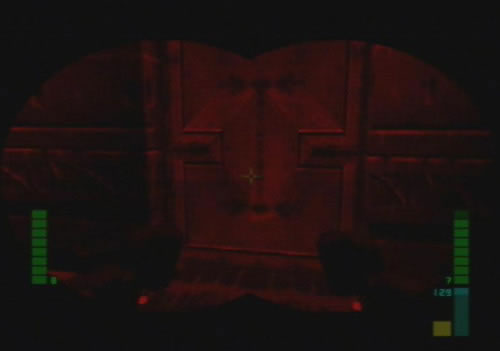
This door leads to the power generator
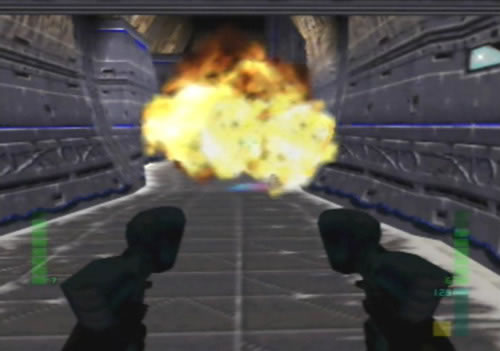
Take care around the Slayer-weilding Skedar, use Explosive Shells to detonate their rockets as they fire them
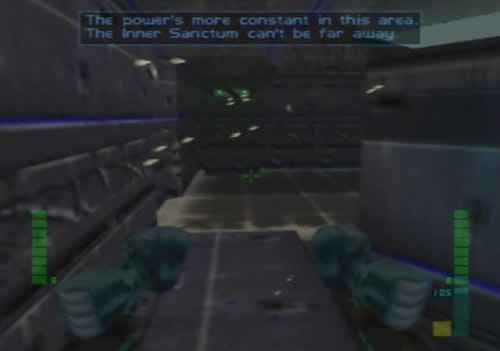
Deal with the second Skedar around the corner and walk over to the altar

Drop the Falcon 2 or Reaper onto the altar to restore power

The generator will power up the lights and doors in this area
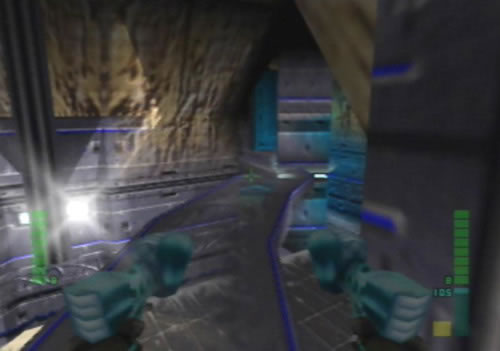
Climb up the bridge and deal with the Skedar guarding the next door
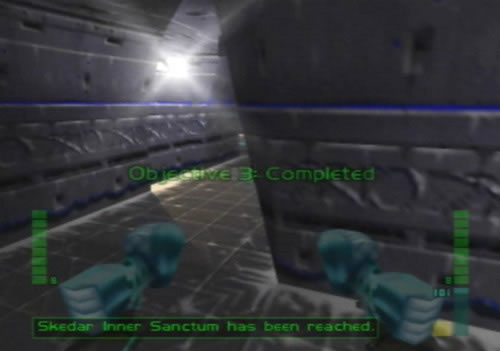
Once inside you will be in the Inner Sanctum - not far to go now
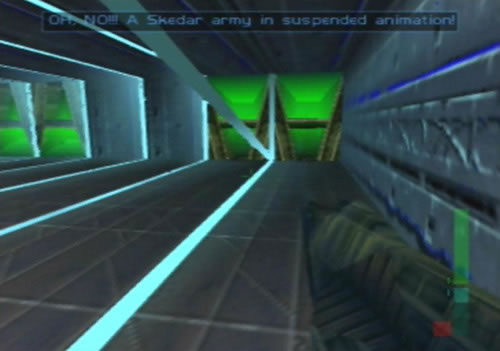
Skedar are waiting beyond all the green doors
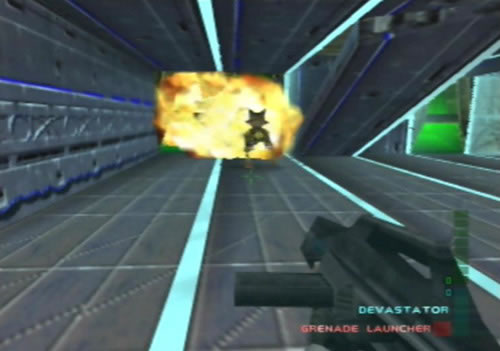
Use the Devastator & Slayer to blast them easily
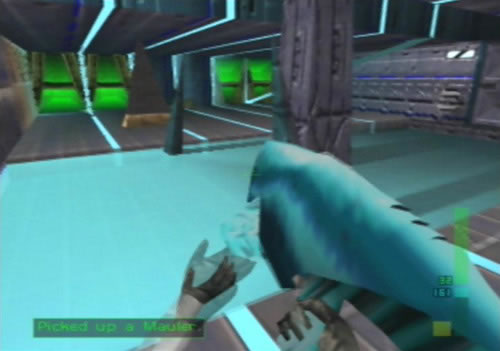
Grab all their dropped Maulers before moving on

This is where you will find the Skedar King, and Joanna's final goal
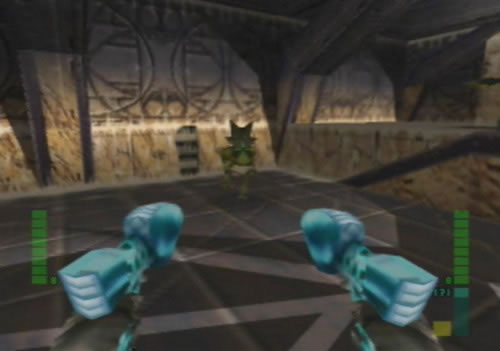
Watch out for the Skedar the King summons to his aid

If the King disappears he will jump down and try to hit you
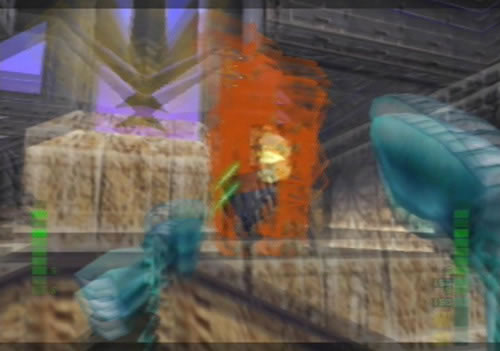
Pound the King with shells as he fires rockets to weaken his shield
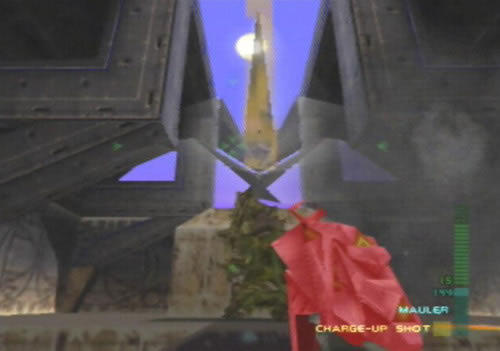
The Mauler also works well, when the King kneels shoot the exposed spikes
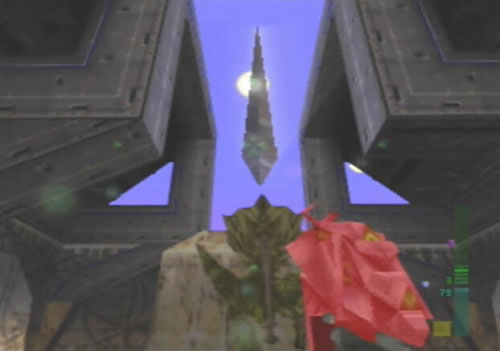
Score a direct hit on the final spike to deal the final blow
Joanna celebrates her victory, but needs to get moving
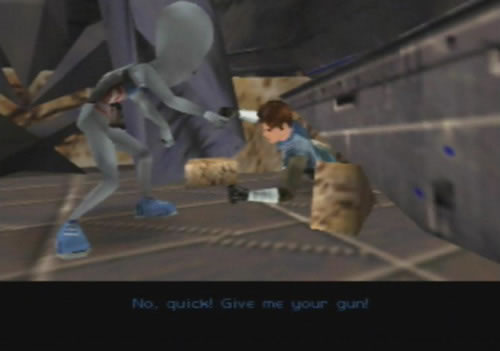
Elvis comes to save the day
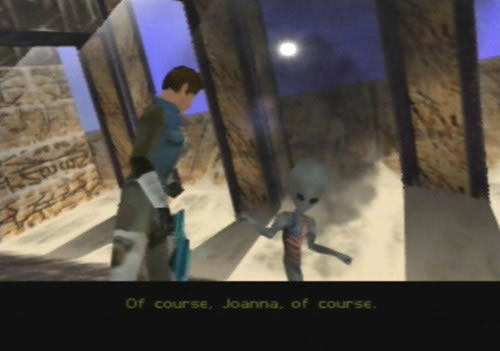
Joanna and Elvis finally leave the ruins
Missions
- 1.1. dataDyne Central - Defection
- 1.2 dataDyne Research - Investigation
- 1.3 dataDyne Central - Extraction
- 2 Carrington Villa - Hostage One
- 3.1 Chicago - Stealth
- 3.2 G5 Building - Reconnaissance
- 4.1 Area 51 - Infiltration
- 4.2 Area 51 - Rescue
- 4.3 Area 51 - Escape
- 5.1 Air Base - Espionage
- 5.2 Air Force One - Antiterrorism
- 5.3 Crash Site Confrontation
- 6.1 Pelagic-II - Exploration
- 6.2 Deep Sea Nullify Threat
- 7 Carrington Institute - Defense
- 8 Attack Ship - Covert Assault
- 9 Skedar Ruins - Battle Shrine
- 10 Mr. Blonde's Revenge*
- 11 Maian SOS**
- 12 War***
- 13 The Duel****
- Locations
- Carrington Institute Training
- Weapons
- Combat Simulator
- Hints and Tricks
- Cheese Locations
*Complete dataDyne Defection to Skedar Ruins on Agent to unlock.
**Complete dataDyne Defection to Skedar Ruins on Special Agent to unlock.
***Complete dataDyne Defection to Skedar Ruins on Perfect Agent to unlock.
****Complete all Carrington Institute Training scenarios to unlock.