home ➜ Nintendo® ➜ N64® ➜ Action & Adventure ➜ Super Mario 64 ➜ Shifting Sand Land - Walkthrough
Super Mario 64 #14 - Shifting Sand Land
Shifting Sand Land - Walkthrough
Super Mario 64 #14
Courses
- 1. Bob-omb Battlefield
- 2. Whomp’s Fortress
- 3. Jolly Roger Bay
- 4. Cool, Cool Mountain
- 5. Big Boo's Haunt
- 6. Hazy Maze Cave
- 7. Lethal Lava Land
- 8. Shifting Sand Land
- 9. Dire Dire Docks
- 10. Snowman's Land
- 11. Wet Dry World
- 12. Tall, Tall Mountains
- 13. Tiny Huge Island
- 14. Tick Tock Clock
- 15. Rainbow Ride
- 16. Peach's Castle Secret Stars
Shifting Sand Land
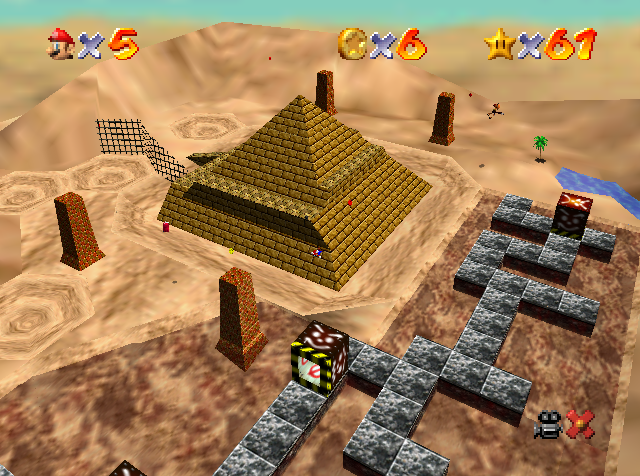
 Shifting Sand Land is an ancient Egyptian-based course and the eighth course appearing in Super Mario 64 and its remake, Super Mario 64 DS. Its name may be a reference to the "Shifting Sands," one of the magical, impassable deserts that surround the Land of Oz in L. Frank Baum's Oz books. The entrance to the level is in the Mushroom Castle's basement, disguised as a wall at the end of the hall to the left of the painting into Lethal Lava Land. The course has several sand dunes, quicksand, and an ancient pyramid in the center. Klepto the Condor circles the course and attempts to steal the player's cap if he gets near. In addition, this course shares the same music as Lethal Lava Land.
To enter Shifting Sand Land you must have beaten Bowser in the Dark World and unlocked the basement. Upon entering the basement, go to the right and use the door to access the winding hallways. Follow the hallway to the right and you’ll see the entrance to Lethal Lava Land. Go toward it, but keep following the hallway as it continues wrapping around to the left is a dead-end. The entrance is actually hidden as a plain wall. Jump into the wall at the end of the hallway to enter the course.
Enemies encountered
Bully, Podoboo, Mr. I, Fire Arms, Flamethrower, and Big Bully (BOSS)
- 1. In the Talons of the Big Bird
- 2. Shining Atop the Pyramid
- 3. Inside the Ancient Pyramid
- 4. Stand Tall on the Four Pillars
- 5. Free Flying for 8 Red Coins
- 6. Pyramid Puzzle
- 7. Shifting Sand Land 100 Coin Power Star
1. In the Talons of the Big Bird, Shifting Sand Land
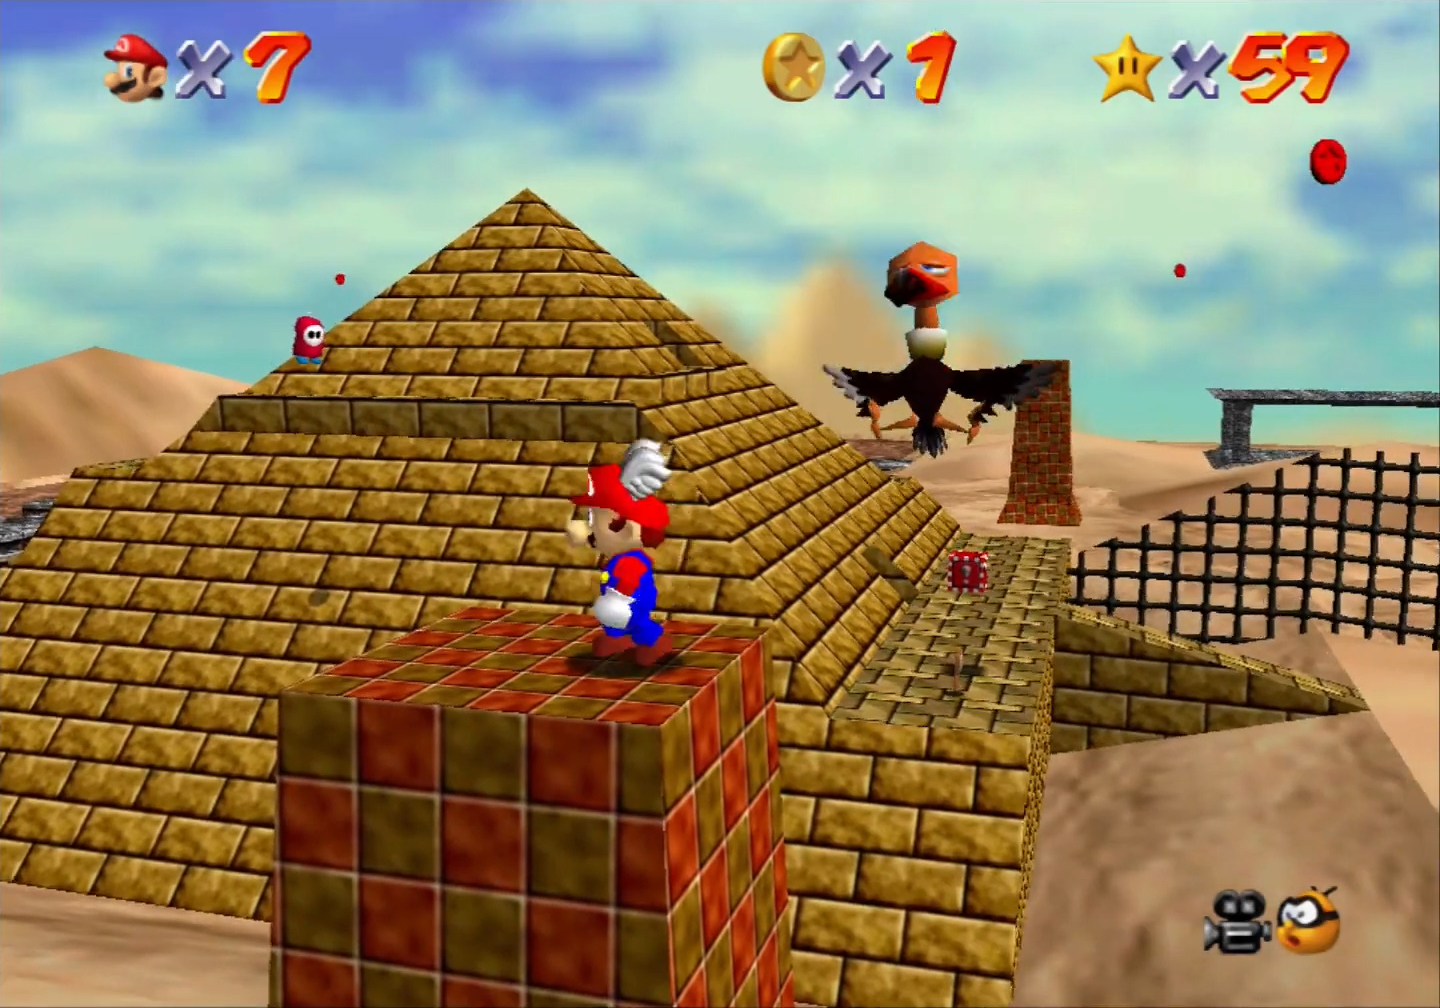
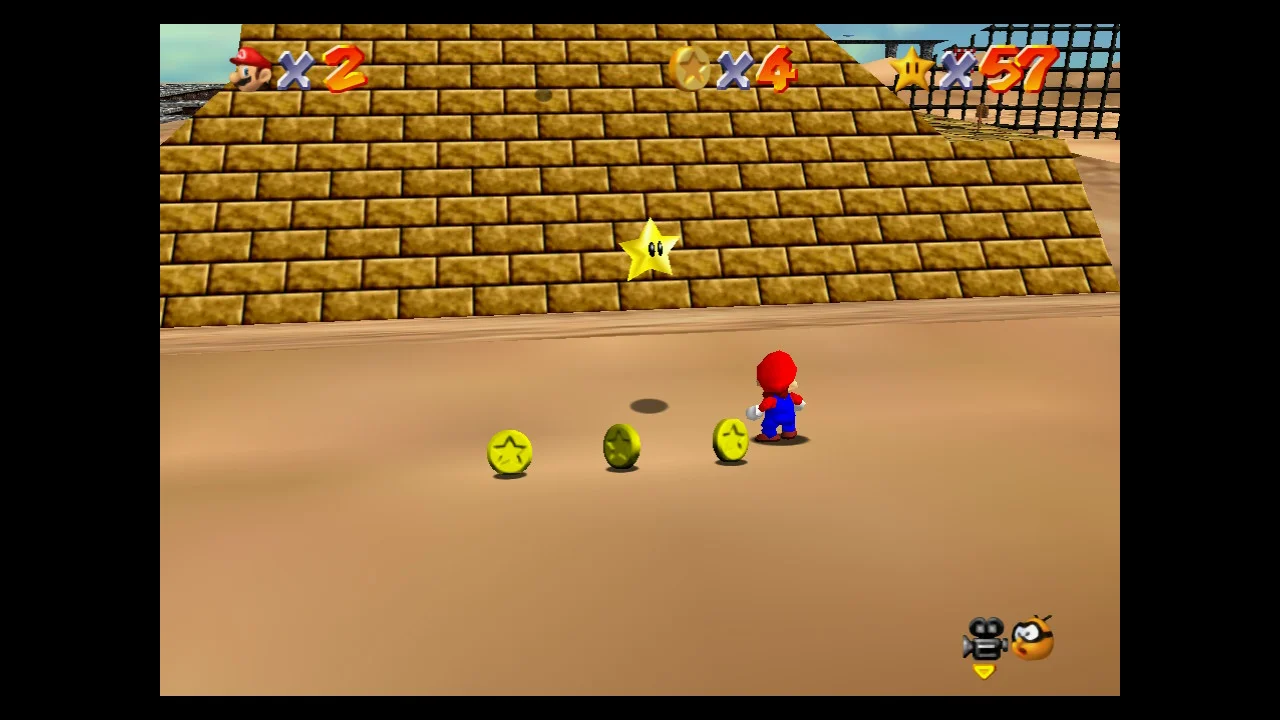
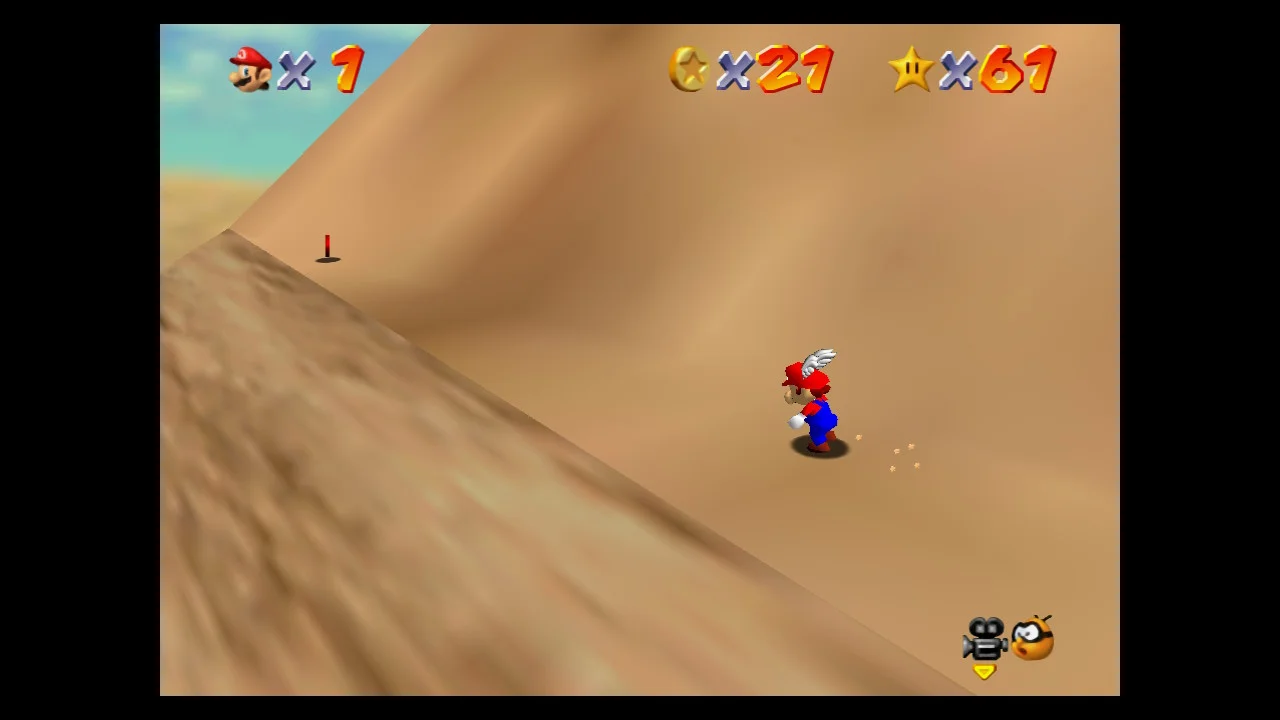
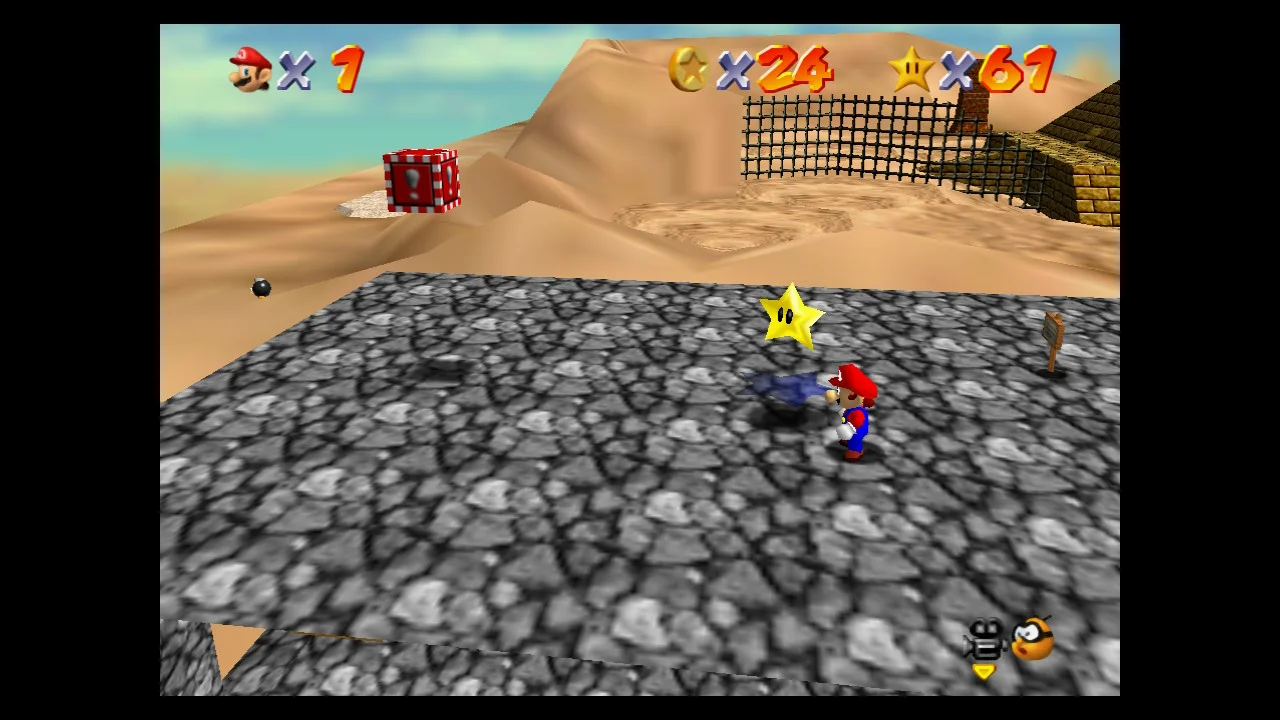
Run around the hill to your left and head toward the pyramid in the center of the course. There is a thick pillar at each corner of the pyramid that you can run straight up on with enough speed. Make it to the top of one of the left ones and wait for the buzzard to fly by carrying the Power Star in its talons.
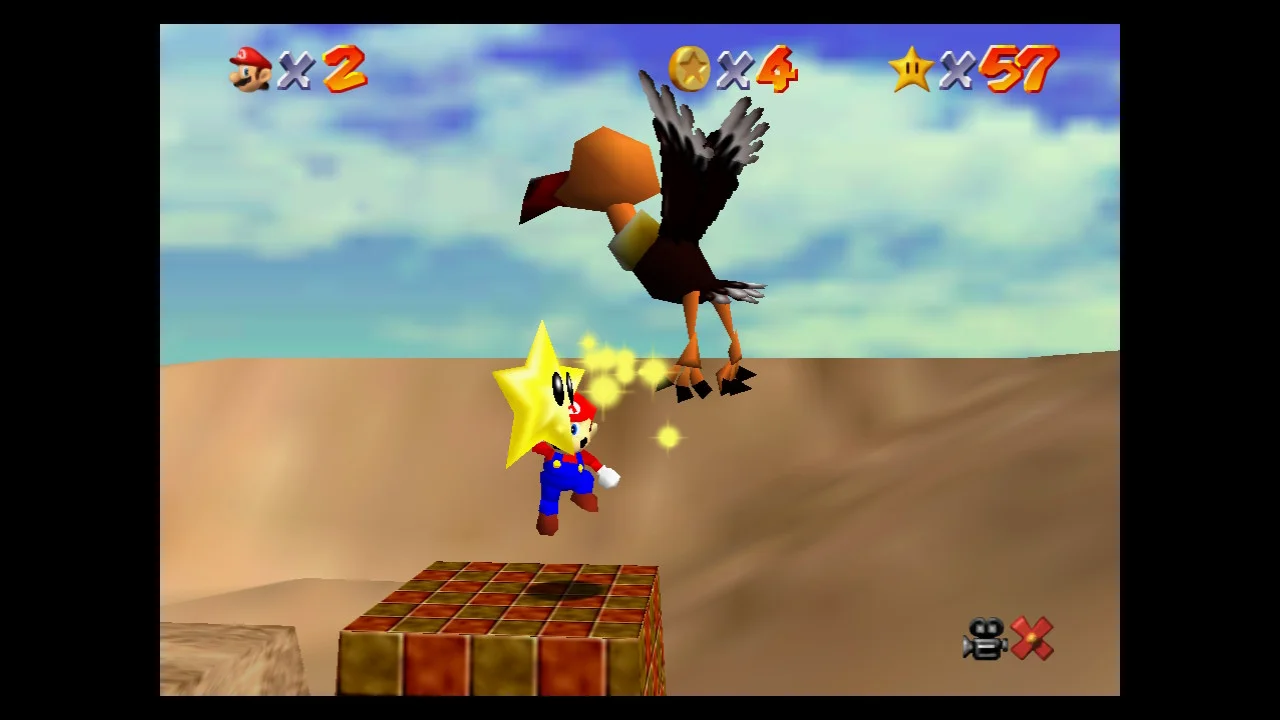
When the buzzard gets near you, wait for it to fly overhead and jump kick him. If you get him right, the Star will fly out to the other end of the pyramid. Run to go get it, jumping the whole time to avoid sinking into the dangerous quicksand. The Power Star is waiting for you.
If you unlocked the Wing Cap: From the beginning of the level, head toward the right to a small open-air structure with the red !-Block on the roof. Avoid the enemies and perform a triple jump to reach the roof. Jump to hit the red !-block and get the Wing Cap; then, do a triple jump to fly. You can fly to the pillar noted above, or you can chase the buzzard and get the Star by flying into it.
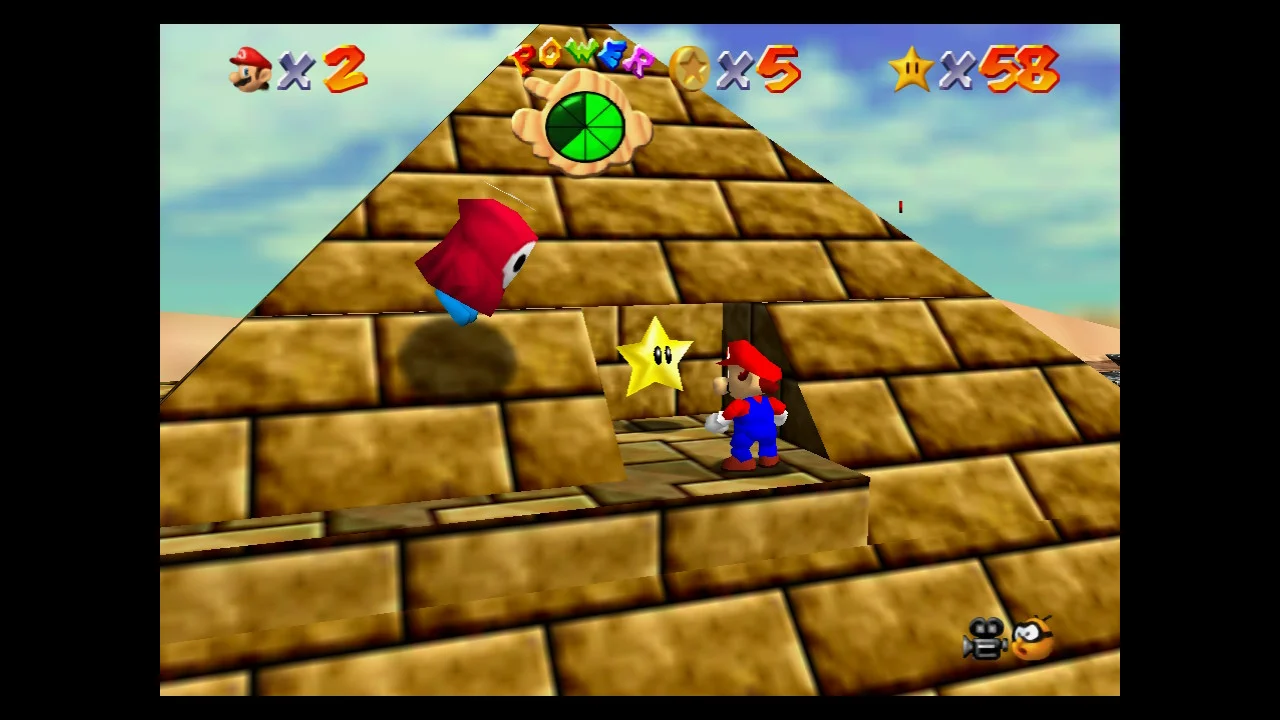
2. Shining Atop the Pyramid, Shifting Sand Land
This Power Star is sitting in an opening near the top of the pyramid. There are a couple of ways you could choose to get there: the Koopa Shell, or the Wing Cap

By Using the Koopa Shell
From the beginning of the level, head toward the right to a small open-air structure with the yellow !-Block on the roof. Avoid the enemies and perform a triple jump to reach the roof. Bust open the yellow box to reveal a koopa shell. Hop on the shell and start riding it toward the pyramid (avoid the tornado to the left). Ride around the right side of the pyramid and start up the sides, as the path sort of spirals around the massive structure. Follow the path to avoid bumping into the flat walls! Near the top you'll find the Power Star.
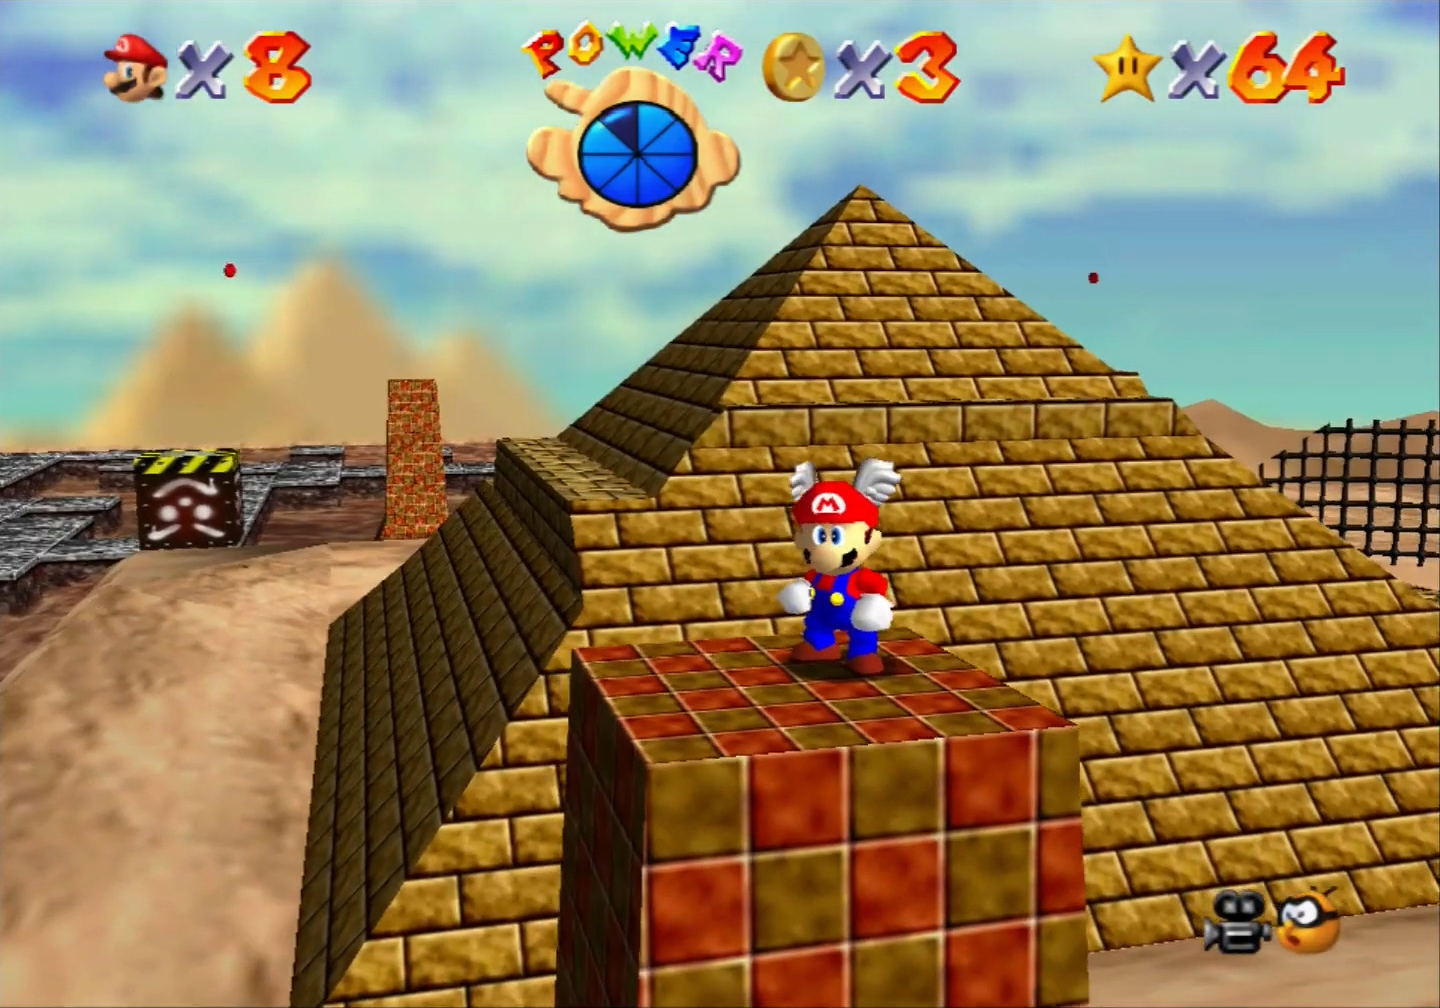
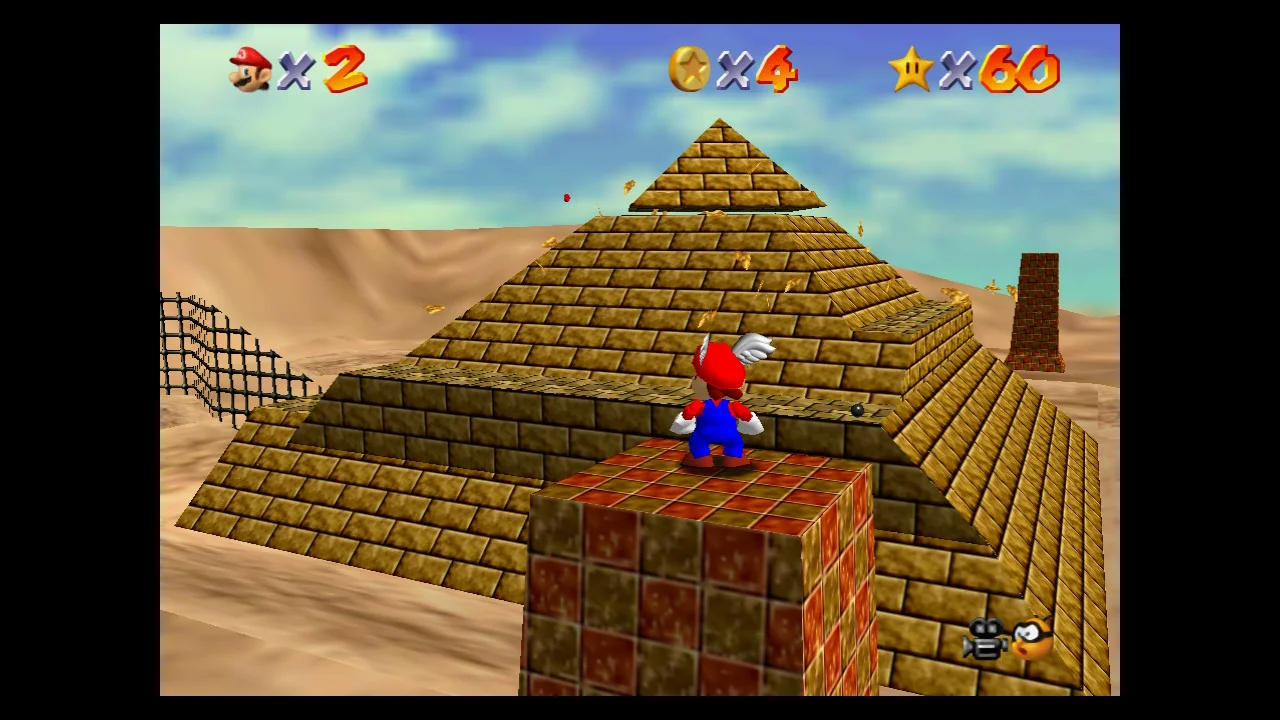
By Using the Wing Cap
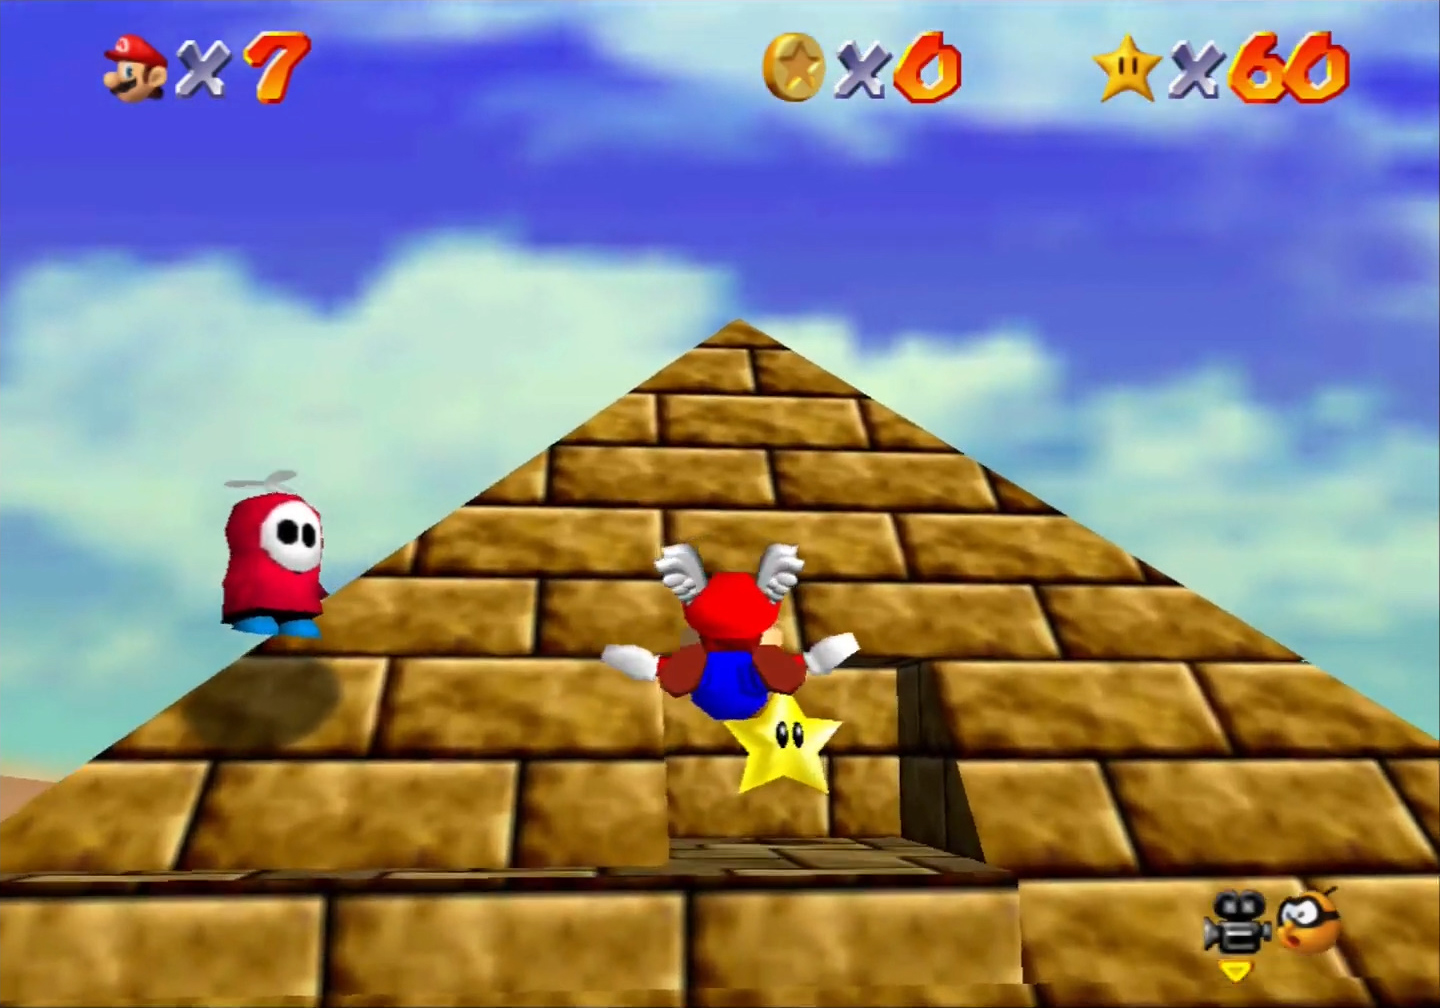
From the beginning of the level, head toward the right to a small open-air structure with the red !-Block on the roof. Avoid the enemies and perform a triple jump to reach the roof. Jump to hit the red !-block and get the Wing Cap; then, do a triple jump to fly. Fly toward the pyramid and circle around until you see the opening with the Power Star near the top. You can then fly directly into it, or ground pound as you fly over the ledge and land to then grab the Star.
3. Inside the Ancient Pyramid, Shifting Sand Land
How to Get Inside the Pyramid
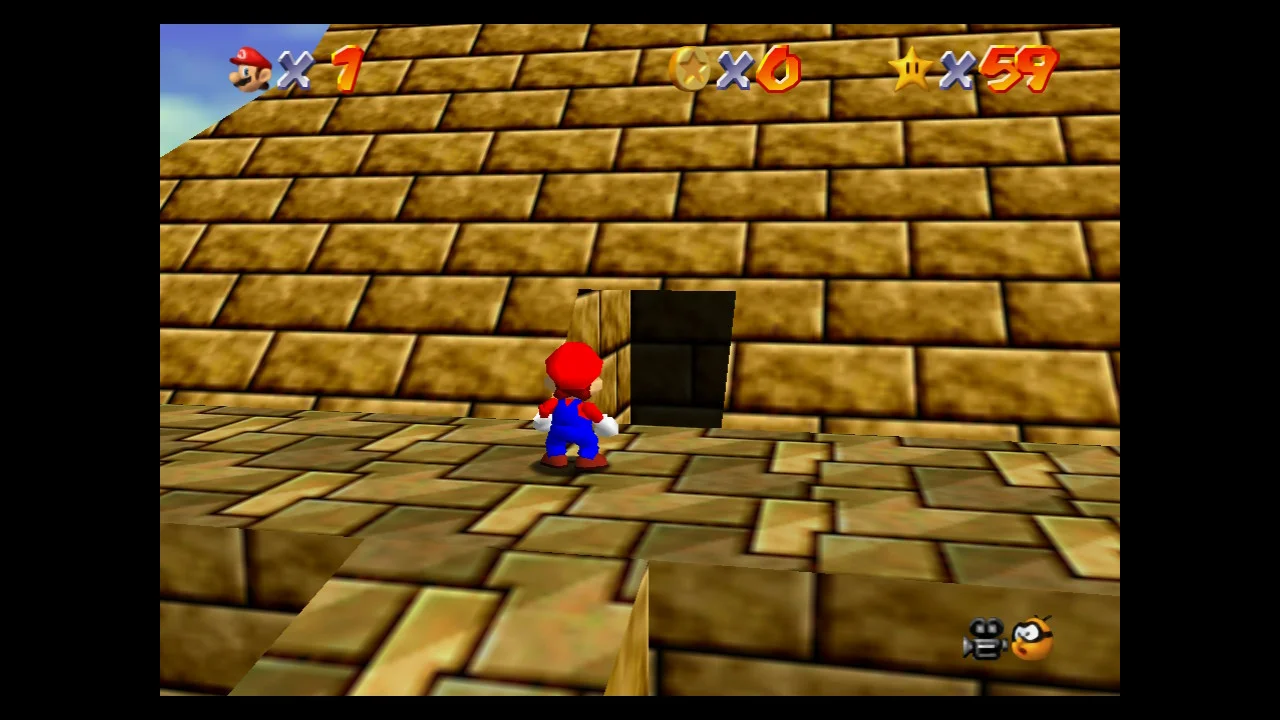
The entrance to the pyramid is actually directly below the room that contained the previous Power Star. If you know how to get there, skip to the next section. Use the Koopa Shell or Wing Cap to get to the entrance of the pyramid. From the beginning of the level, head toward the right to a small open-air structure. Avoid the enemies and perform a triple jump to reach the roof. Hit the yellow !-Block for the Koopa Shell or the red !-Block for the Wing Cap.
If using the Koopa Shell: Ride it counterclockwise around the pyramid until you reach the fence at the front of the pyramid. Jump off the shell and use the stone ramp to reach the entrance.
If using the Wing Cap: Do a triple jump to fly; then, head toward the front of the pyramid. It is the side that is adjacent to the large fence. The entrance is at the first step of the pyramid.
Inside the Pyramid
You now need to reach the top of the pyramid (from the inside this time) to grab the Power Star. Start by heading right (think of it as going counterclockwise) and stay on the paths that line the perimeter (the center area is filled with slow sinking sand). When you finally reach the very far end of the room, jump over the small gaps to find a ramp that heads up to the next floor.
From the second floor, go right (clockwise) to return to the front side of the pyramid. On your way there, deal with some Goombas and wait for the Thwomp to clear your path. There is a pole at the end of the walkway that you climb to a third floor.

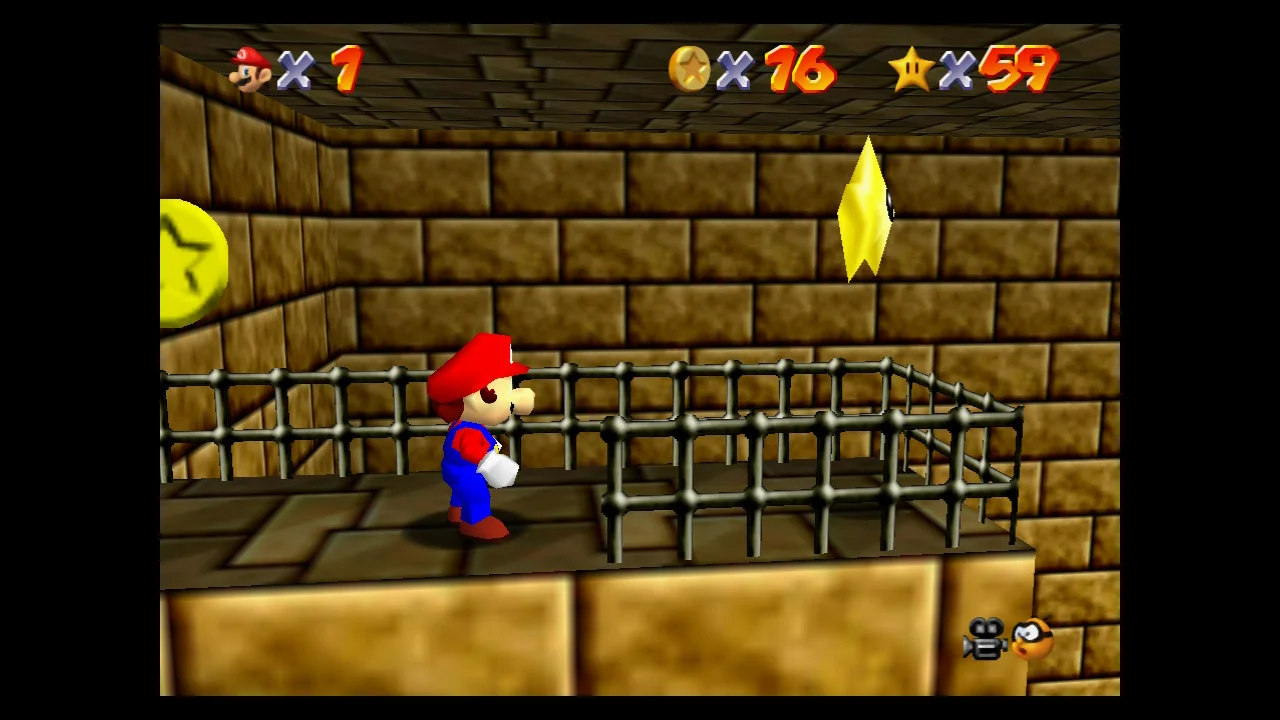
Start heading right at the top of the pole and jump and keep the jump button held down to grab onto the bottom of a mesh platform. Climb your way to the other side of the steep slope. After reaching the other side, follow the coins to jump on up to the next floor.
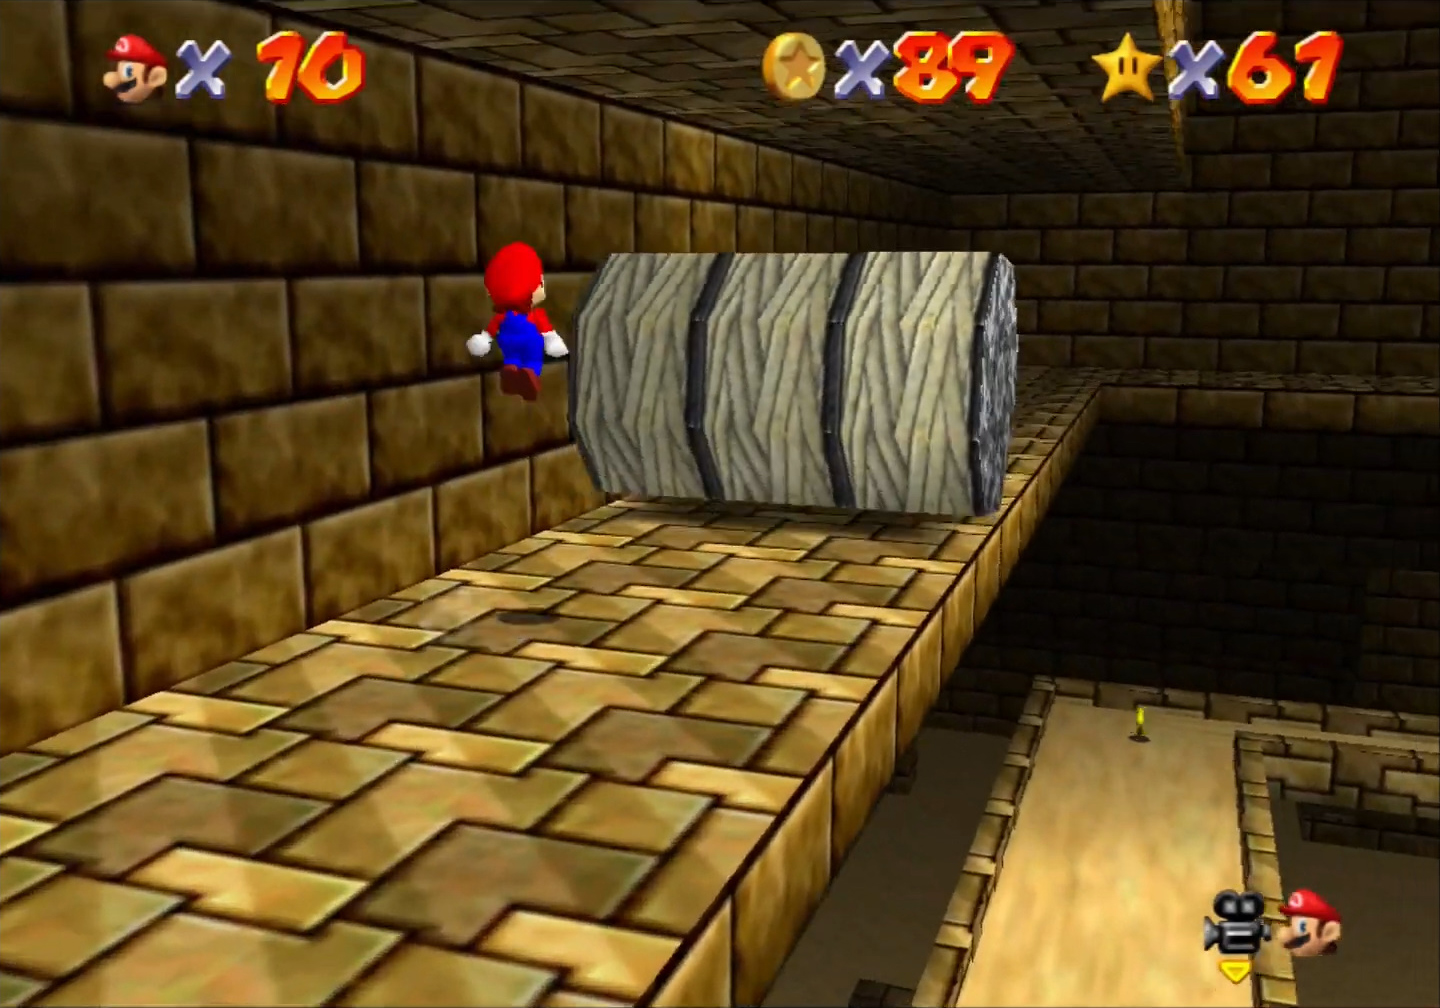
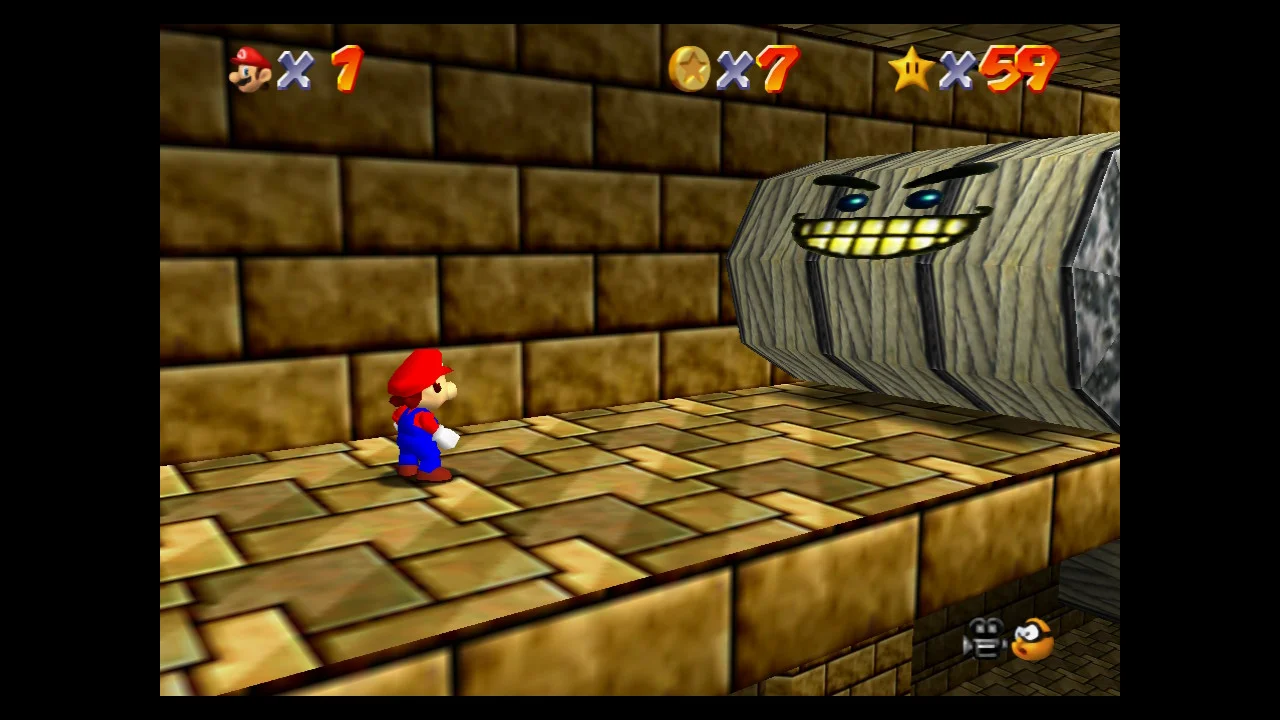
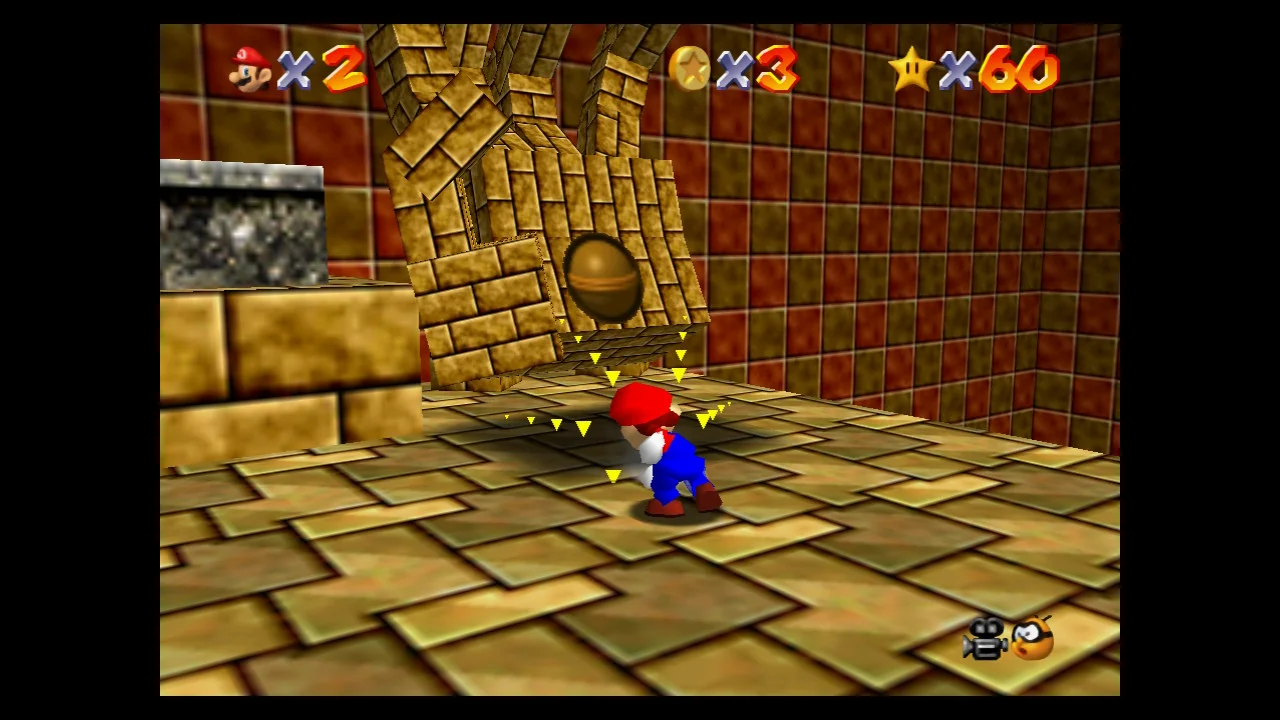
On the fourth floor, get by a large rolling cylinder. In the middle of the wall is an alcove you can slip into to let you escape the rolling cylinder as it comes back toward you. After evading the cylinder, keep following the walkway to reach a series of moving steps. If you need to heal, make sure to use the Heart Icon before going up the steps.


On the fifth floor, avoid the enemies that emerge from the walls as you run across the walkway. The walkway becomes a very narrow path. Get close to the wall and slowly get across and climb onto the pole at the other end.
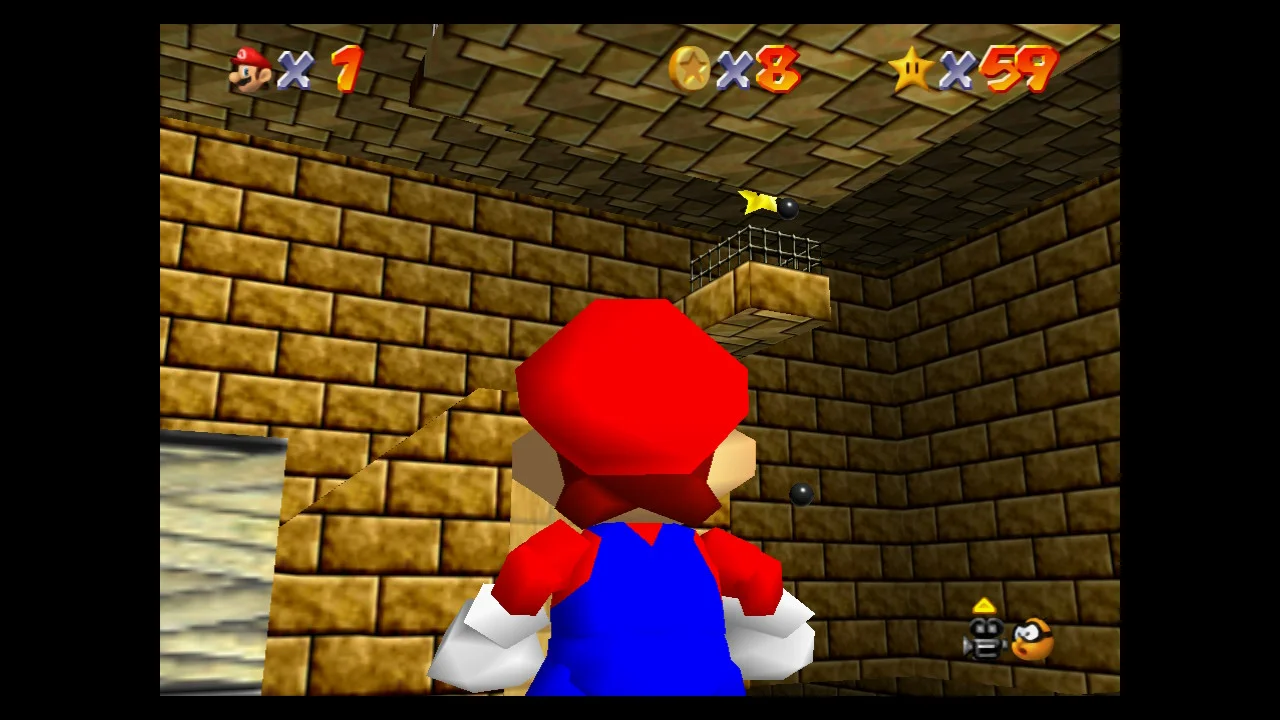
Climb up the pole and turn to face the skipping Thwomp on the bridge. You can wait for it to get close to you and then jump on top of it to go over, or wait until you're able to slide Mario underneath the Thwomp as it jumps. Once on the other side, follow the coins up the ramp to reach the Power Star.
4. Stand Tall on the Four Pillars, Shifting Sand Land
Get to the Pillars

For the first part of the mission, go to the top of each of the four pillars that surround the pyramid and stand at the very tip-top. You can run up the sides of three of them, though the fourth pillar is surrounded by instant-death quicksand. To get to it, you can go to the open-air structure to the right of the level and triple-jump to reach the roof and access the red and yellow !-Blocks.

Hit the red !-block to use the Wing Cap to fly to the pillar. Or, hit the yellow !-Block to use the Koopa Shell to jump over the pit of quicksand and ride to the top of the pillar (hit the crouch button just as you reach the top of the pillar to get rid of the shell and touch the top with your feet). You can use the Wing Cap to fly over to it.
Inside the Pyramid

The tip of the pyramid breaks off, revealing a hole that you can drop into. Use the Koopa Shell or Wing Cap to reach the top of the pyramid. Without a power up, you can run toward the pyramid and spiral around it, going up the steps to reach the top. Drop into the top of the pyramid and ride the elevator platform down until it stops.
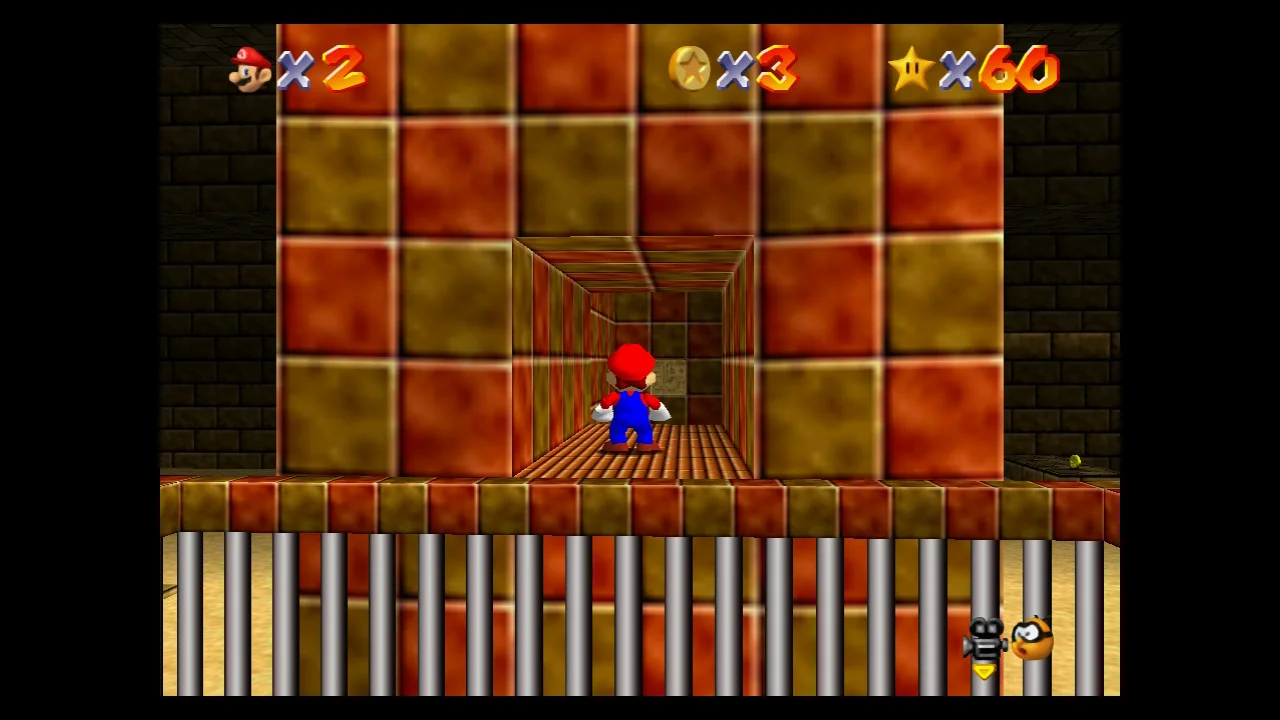
When you reach the bottom, jump up to the hole in the wall that is now touching your elevator. Drop through the tunnel to land in a room below. As you move forward, two hands will form out of the bricks and pose a quick challenge.
Each hand has an eye in the center of the palm. You have to hit each eye three times to defeat the hands. Wait for one hand to attack you, while the other hand sits back and opens up. This allows you to quickly run in for a strike. Watch the shadow on the ground as a hand hovers overhead to avoid its slam attack, and do not let it push you off the platform. The Power star appears nearby.
5. Free Flying for 8 Red Coins, Shifting Sand Land

Wing Cap required! Collect all eight red coins and a star will appear at the stone structure near the start. The red coin locations include:

From the start of the level, run all the way to the left to find this Red Coin sitting on the ground on the far left corner of the stage.
Inside the open-air structure with the red and yellow !-Blocks on the roof, you see a red-brick block. Use a ground pound to smash it and retrieve this Red Coin.
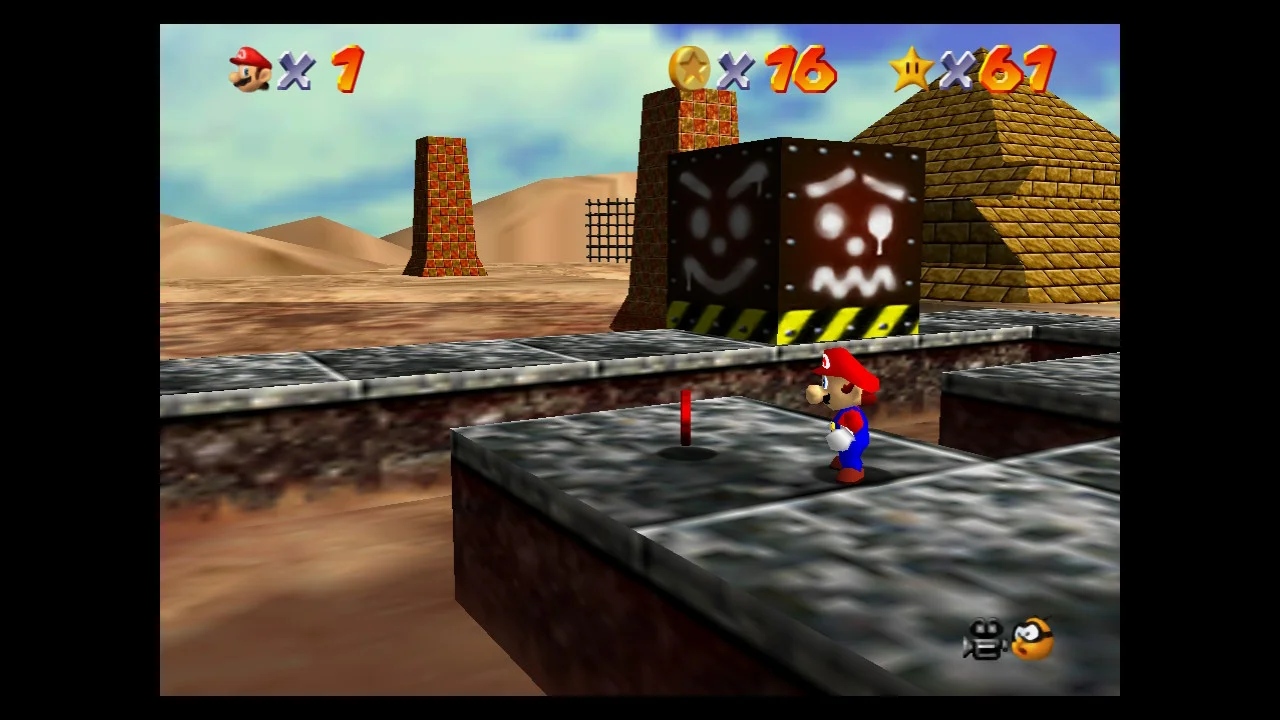
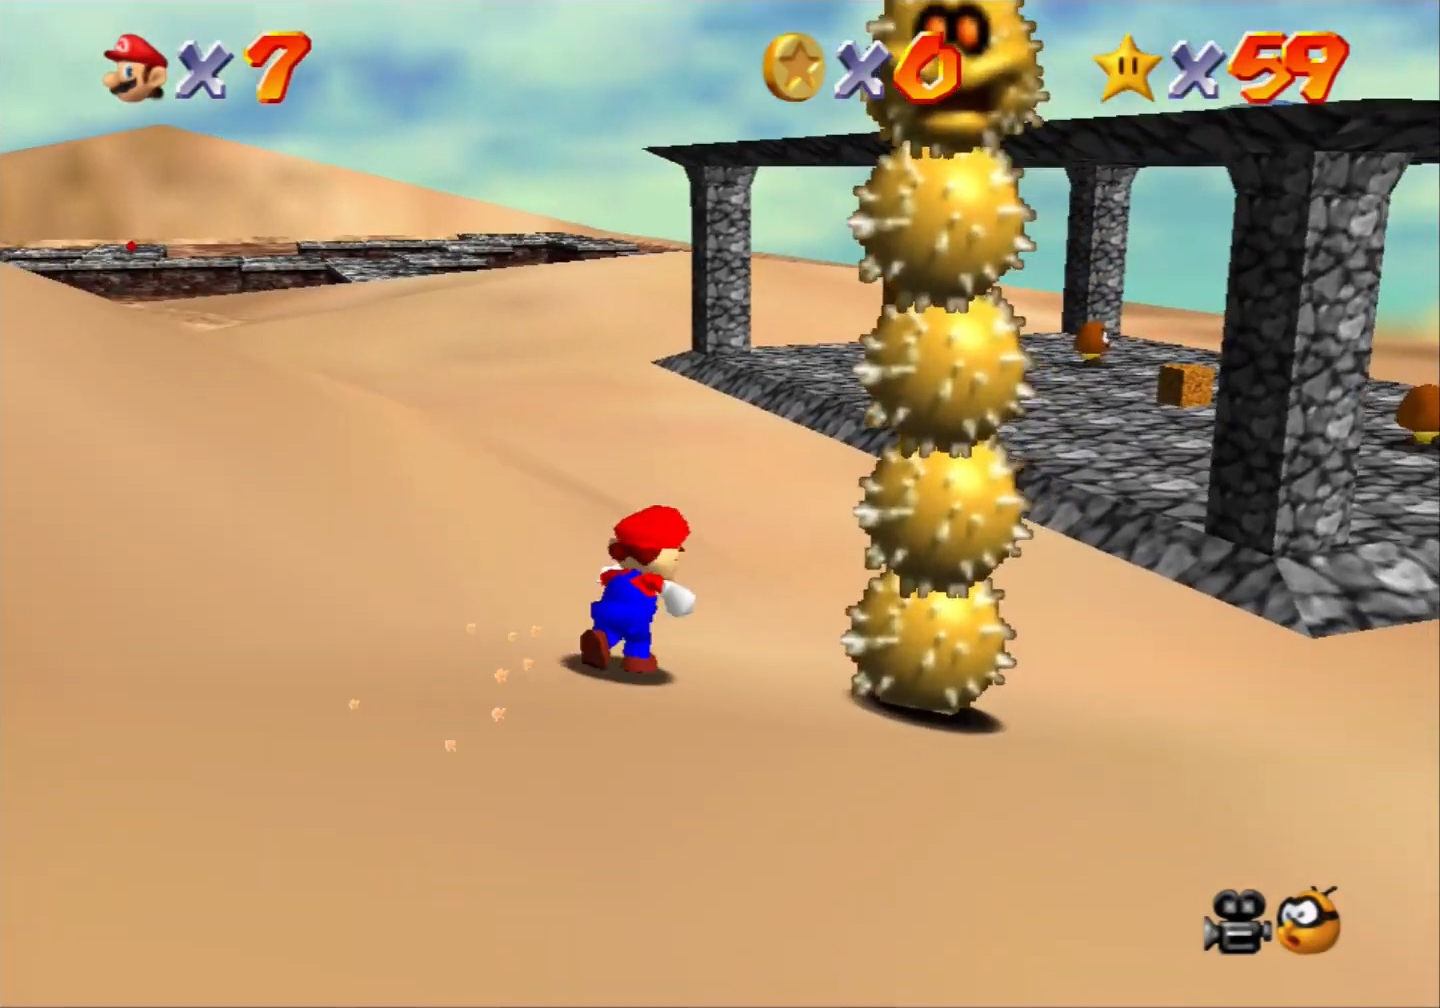
Continuing just ahead of the open-air structure, there are large boxes (called Tox Boxes) rolling around a long branching platform. The Tox Boxes are hollow and have a hole on their bottom side. When they roll onto that side, you can stand safely inside as it passes over you. Follow the platform and pass the first Tox Box. A Red Coin is sitting on your right. Jump over to it, or run around the curve of the platform to reach this Red Coin.
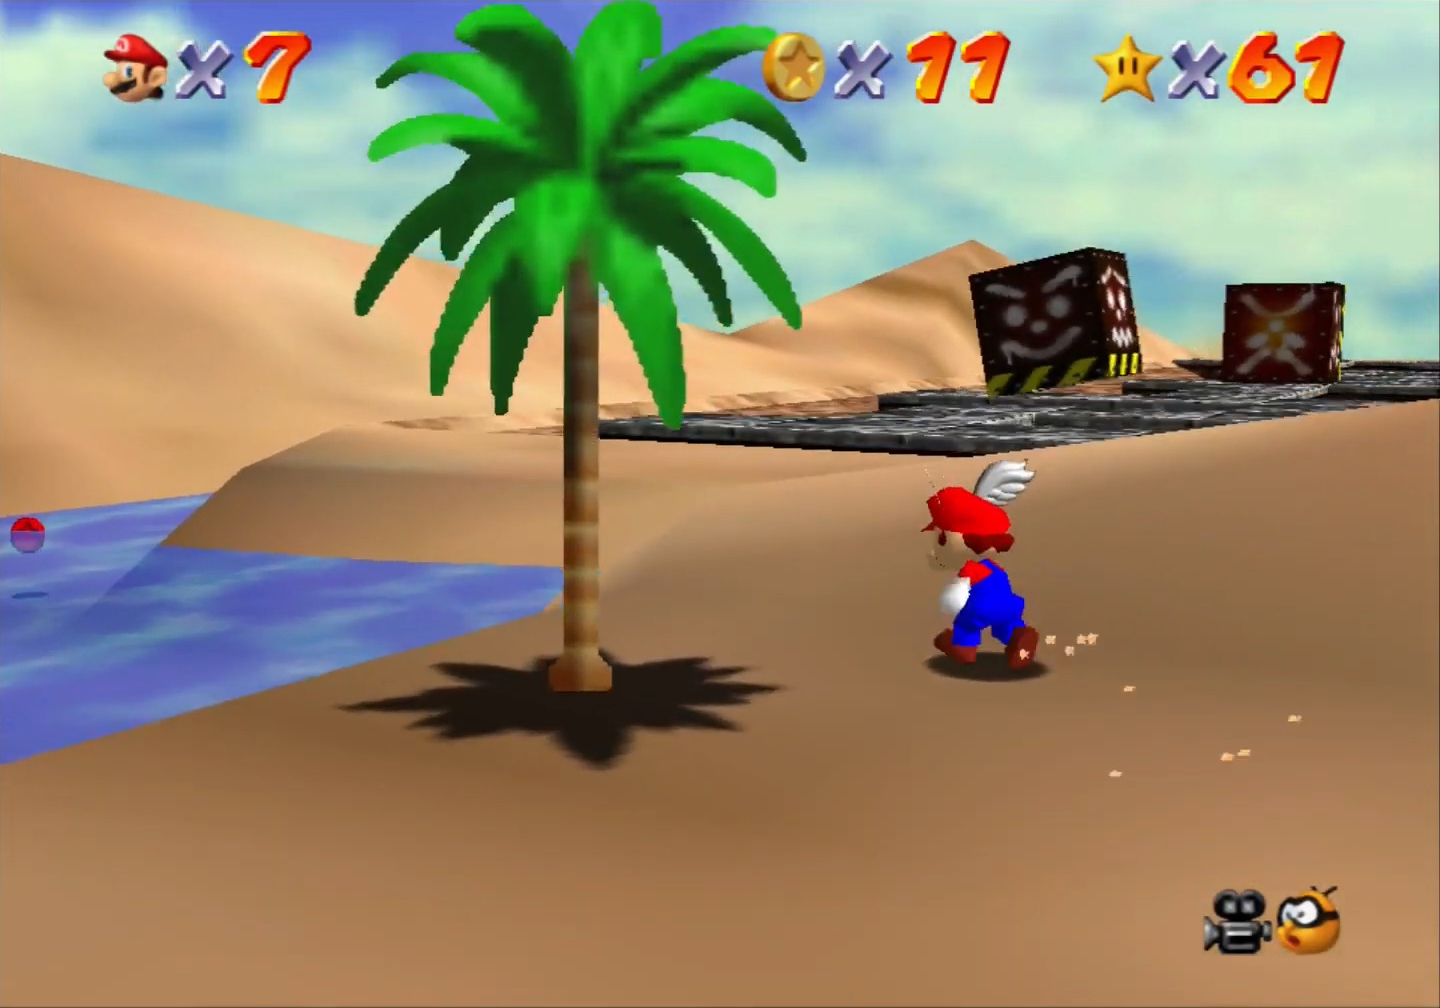
Run down the length of the Tox Box platform, heading past the second and third Tox Box. At the end is a small body of water where the Red Coin waits.
The Final Four

To get the last four Red Coins, fly. Head to the entrance of the pyramid or the roof of the open-air structure to hit the red !-Block and Get the Wing Cap.

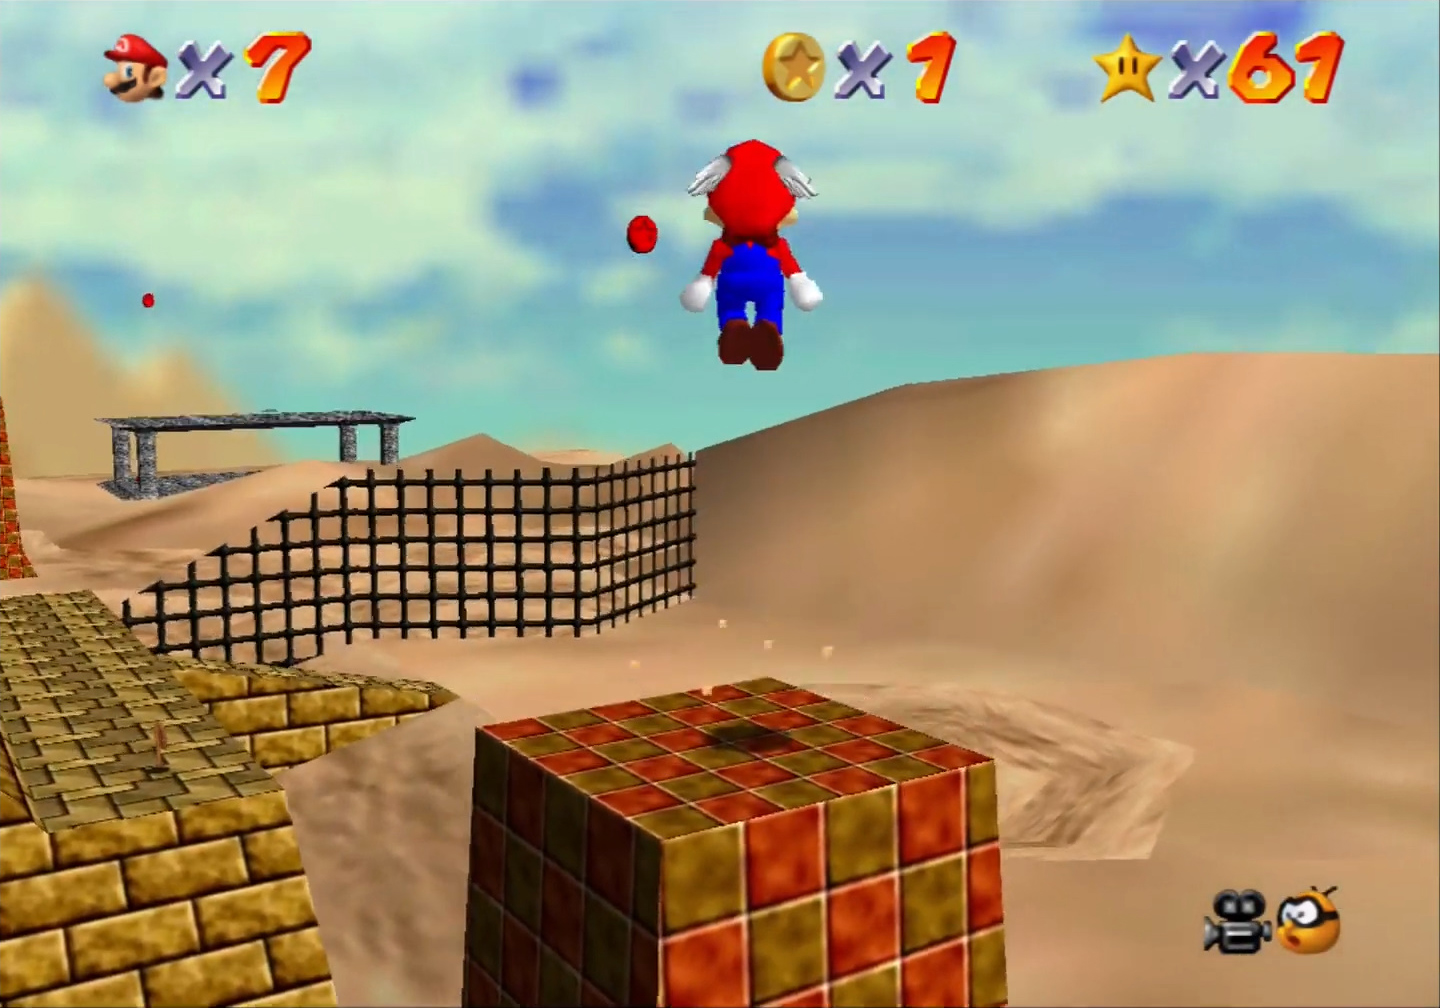
The four remaining coins are floating somewhere near the tops of each of the four pillars surrounding the pyramid. Do a triple jump from the top of the pyramid to allow yourself to fly higher. When all four Red Coins are collected, the Power star appears on top of the open-structure.
6. Pyramid Puzzle, Shifting Sand Land
Getting Inside the Pyramid

For this mission, you must enter the pyramid again. You can do this by using the entrance from Star #3 Inside the Ancient Pyramid or by blowing the roof off and entering through the top like in Star #4. Stand Tall on the Four Pillars.
Collect the five unique coins

Go up the steep slope after passing the Thwomp and stop at the top of the slope. There is a border running along the right edge of this platform with a gap in the border appearing on the right side. The first Coin you need is on a small platform directly below you. Lightly jump off the edge while staying as close to it as possible, or walk slowly off the edge and allow Mario to drop onto the platform below.

Instead of following the stone platforms toward the right, as you did in the previous mission, turn around and jump back across the stones. Step on the checkered platform at the end, and wait on it while it starts ascending through the volcano.

As soon as the checkered platform meets up with a second identical checkered platform, quickly jump onto the next platform before the first platform falls into the lava. Shortly after boarding the second platform, it will begin to circle around a pole. Quickly jump onto the pole to avoid falling into the lava.

Climb up the pole to the very top and turn your back to the platform above. Jump onto the platform and climb a second pole. Again, jump back from the top to land on the small platform above. Then, hop across to grab the Power Star.
7. Shifting Sand Land 100 Coin Power Star, Shifting Sand Land
Collect 100 coins without dying or leaving a level to earn an additional star. Collect all the coins you see laying around but do keep in mind the following tips as you play. There is a possible 139 coins to collect.
- Make sure to defeat all enemies. Snufits and Scuttle Bugs give out three coins each.
- The Mr. I enemies give blue coins when defeated.
- There is a blue switch in the toxic maze that gives a hefty 35 coins if all coins are collected.
This is one of the worse 100-Coin hunts in Super Mario 64, so prepare to have you patience tested as you run around the entire level scrounging for every coin you can find. From the start make sure you are killing every Scuttlebug you see as you head toward the Red Coin room. They are worth 3 coins each.

By selecting Stars 5 or 6 you can spawn a box with a Green Koopa Shell in it just past the arch near the start of the level. This shell makes it incredibly easy to collect the coins in the lava and on the ramps all around the level, so make sure you grab it and ride carefully so you don't lose it until you've gotten all the far flung coins in the stage.

Once you get most of the hard to reach coins, go around and defeat bullys and the eyeball enemies to get some extra coins. Grab the 8 Red Coins for another easy boost of coins, and collect the various coin rings and lines on platforms along the edges.
If you get most of them you should have about 90 coins, at which point you can hop into the volcano and follow the path to find your final 10 coins.

- Head to the first bully, go left and run around the Mr. I a few times to get a blue coin, or 5 normal coins.
- A little further on, there are five yellow coins in a line.
- Go to the location of the eight red coins just a little further on. Grab them all for 16 coins.
- Wait around a while, and eventually, once the puzzle is completed, five yellow coins will appear in the middle.
- Head to the end, turn right, and jump down to the next platform, where there are five yellow coins in a line just up ahead.
- Run past the Big Bully and jump onto the moving cage. At the end, there's another platform with 8 yellow coins.
- Jump over to the raising and lowering platforms and grab the four coins on them.
- Head down the curving path, jump over to the raising and lowering platform, and grab five coins.
- Backtrack a little bit and jump onto the round platform, where you can get 8 coins in the middle.
- Head back over to the platform surrounding the volcano and grab the three coins on it.
- Head back to the beginning, where there is a platform with a ! Block, and grab the Koopa Shell inside. Take the shell for a ride under the drawbridge and get the five coins underneath.
- Right ahead is a very steep hill with a 1-Up on it, and over that is a much shallower hill with four coins on it.
- Go around to just behind where you started, and near that will be another shallow hill with three coins.
- Ride back around to where the second Big Bully would be, and climb the very steep hill for five coins.
- Near this is a platform with 8 coins and a Mr. I with a blue coin.
- Head into the volcano. Right in front of you when you start is a platform with three coins.
- A bit further up the volcano is a platform with five coins. You should have the star by now.
Trivia
- The Nintendo Player's Guide for Super Mario 64 labels the "Elevator Tour in the Volcano" Star as "Inside the Volcano," which ended up becoming the mission's name in the remake.
- In the beta version of the game, Lethal Lava Land was located somewhere in the main hall. Also, the left section of the first platform was missing, and you started where the Koopa Shell is in the final game.
- The only enemies in this stage are Mr. I's and Bullies, both small, and big.
- Knocking a Bully onto the Bowser puzzle will make it fall into the lava, even if it lands on a puzzle piece, due to collision errors in the game.
- There is a glitch in which you can slide kick on the lava, but it is slightly hard to do and requires good timing.
1-Up Mushroom Locations
The following is a list of where to find all four green mushrooms.
- On the steep hill just past the drawbridge.
- On the shallow hill just past the steep hill.
- On the shallow hill in the corner of the level.
- On the top of the fire shooter.
- Behind the platform where the Boil The Big Bully star appears.
- On the steep hill near the Mr. I.
- Hidden in one of the poles near the top of the edge of the volcano.
Statistics for Shifting Sand Land
- Total Number of Coins: 133
- Caps Found: Wing Cap (1)
- Spinning Heart: Inside the volcano, past the hidden smasher, on the platform to the right.
- Cannons: 0
- Warp: The area under the Mr. I. near the picture of Bowser can warp the player to the island with the Wing Cap.
Courses
- 1. Bob-omb Battlefield
- 2. Whomp’s Fortress
- 3. Jolly Roger Bay
- 4. Cool, Cool Mountain
- 5. Big Boo's Haunt
- 6. Hazy Maze Cave
- 7. Lethal Lava Land
- 8. Shifting Sand Land
- 9. Dire Dire Docks
- 10. Snowman's Land
- 11. Wet Dry World
- 12. Tall, Tall Mountains
- 13. Tiny Huge Island
- 14. Tick Tock Clock
- 15. Rainbow Ride
- 16. Peach's Castle Secret Stars